Monday, July 9, 2012

Bridal Stilettos!

So, this cookie experience was probably one of the more frustrating ones I have encountered so far.   I don't know if it was because I was rushing to get it done, or if it was just an off baking experience, which happens every once in a while.  It all started with the dough making process.  I used the same recipe as usual and it seemed to come out better than ever.  The problem was in the cutting of the cookies.  I chilled the dough, rolled it out and then started cutting out shapes.  oh, I should tell you I was making stiletto shoe cookies.  For some reason since the dough was so sticky I was having trouble getting the cookies off the paper without messing up the shape.  I decided the dough should chill a bit longer to make it easier.  Once the dough was chilled it helped a lot, but I had to keep taking the dough in and out of the fridge.  Once I cut out the shapes, I usually chill the cookies in the freezer for 15 minutes before baking, but I didn't have that much time so I did it for less.  Well when I went to bake the cookies they weren't holding their shape.  =(  After I had baked all of them, not happy with the shape of them, I realized I forgot to actual turn the oven on to bake. 

 Well, the next morning I got up early and baked a whole new batch.  I was so sure that the shape would hold and the cookies would just look better overall.  Well I was wrong, I was still struggling with the shape.  Finally I was done and I had a ton of cookies.  I only need 30, but I had about 80. =D

This was the first batch!


I made the icing, mixed my colors, filled the bags and started decorating.  I honestly decided to keep it as simple as possible, since I didn't have too much time to fuss over them.  I basically had one day to decorate.  As I have said before, you can't really rush cookies.  You just really need time and patience to make it work.  This was definitely a Tim Gunn "make it work" moment!  My icing was a bit too think, so I struggled with smoothing out the icing.  I also had issues with the cookies breaking, due to the fact that they were too soft.  I think under baking them make them taste better, but they are harder to decorate.  Due to my icing issues, I decided to cover them in sanding sugar, which is the perfect fix for any imperfection! 

You can see all of the craters on the brown cookie.
I used a stencil to decorate the leopard print and zebra print cookie.  The rest I covered in sanding sugar.  Here are some shots of the cookies!


Pile of cookies, some broken.  A bit of a mess!
 I also made 2 wedding dress cookies for the bride.  I wanted to make these a little more intricate, but again there just wasn't enough time.


The final stop on my long cookie adventure was making some titty cookies!  I know it sounds crude, but my friend always refers to them as that, and I think it is hilarious.  I gave a pair to the bride, as like a gift of lingerie.  The one I gave her was black and white, but I forgot to take a picture, so here are the other ones I made.

I am thinking of making another set of cookies soon, using an edible printing sheet technique.  I am not sure if it will happen, but if I have the time it will be done!

Here is the final shot of the cookies at the bridal shower, underneath the beautiful cake!


Wednesday, April 18, 2012

Who wants some tea and cookies?

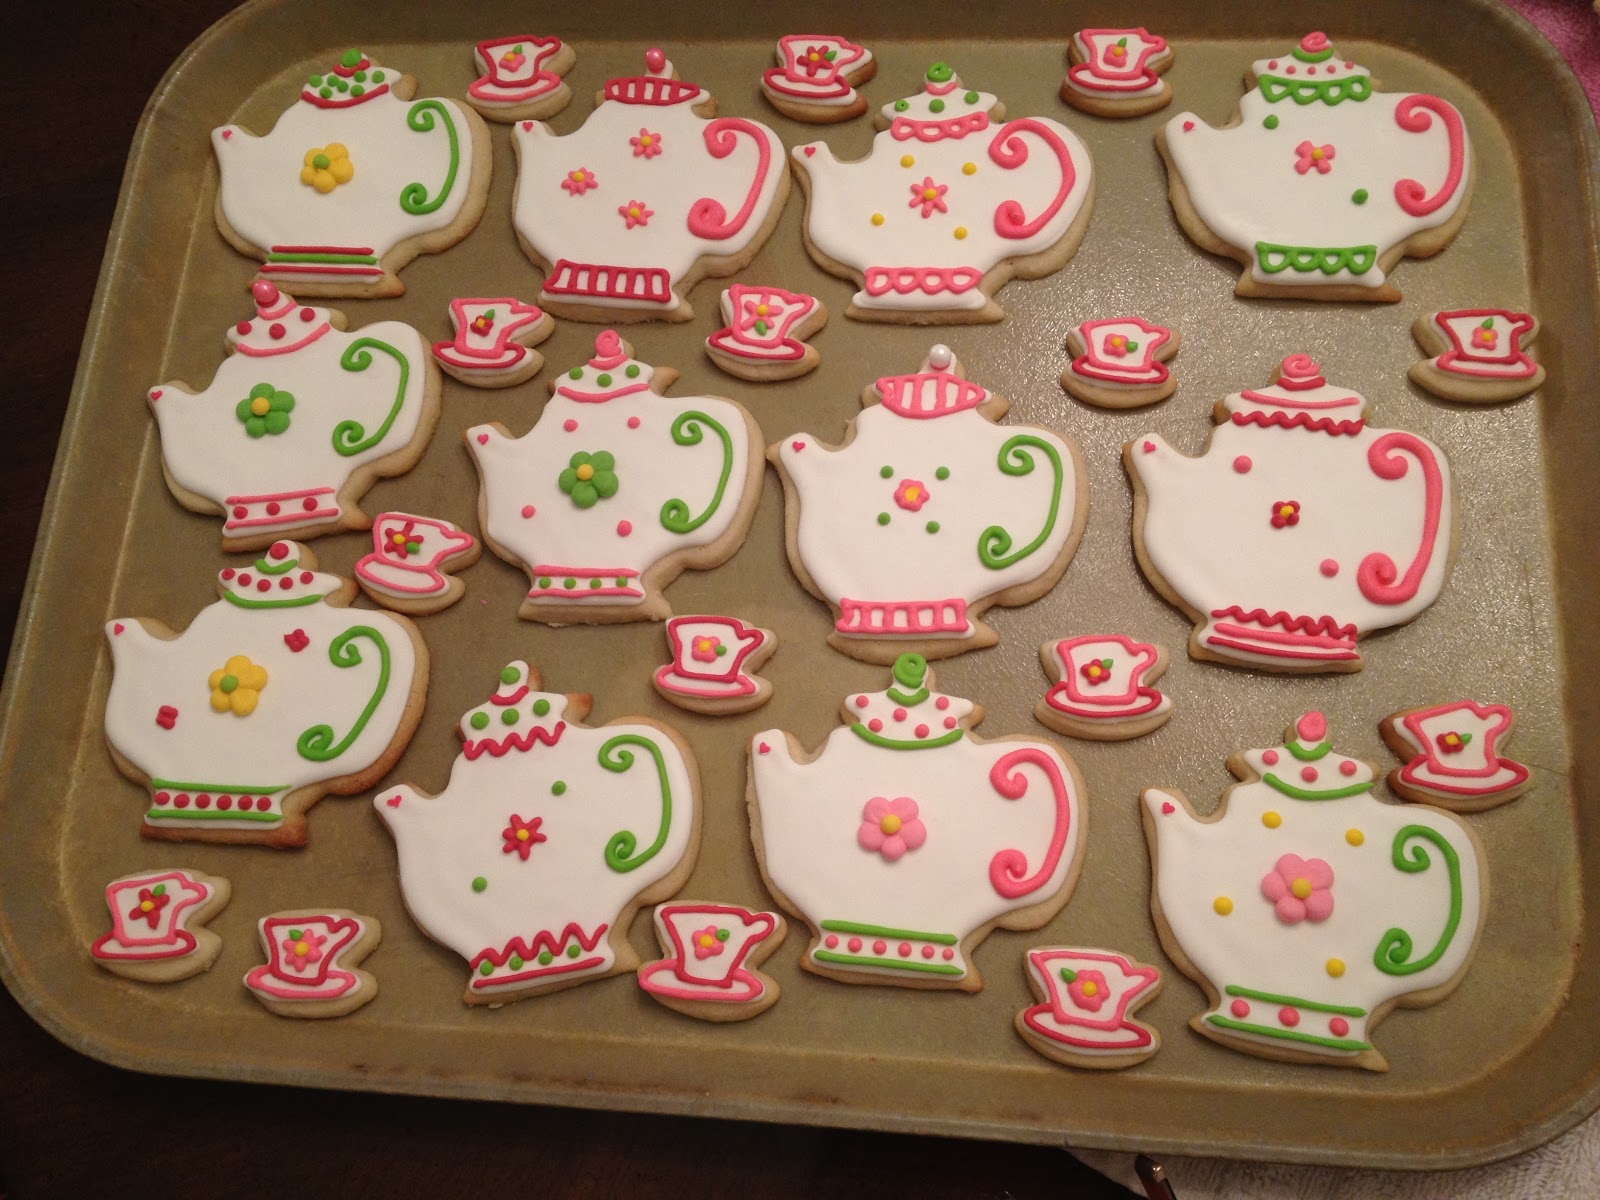
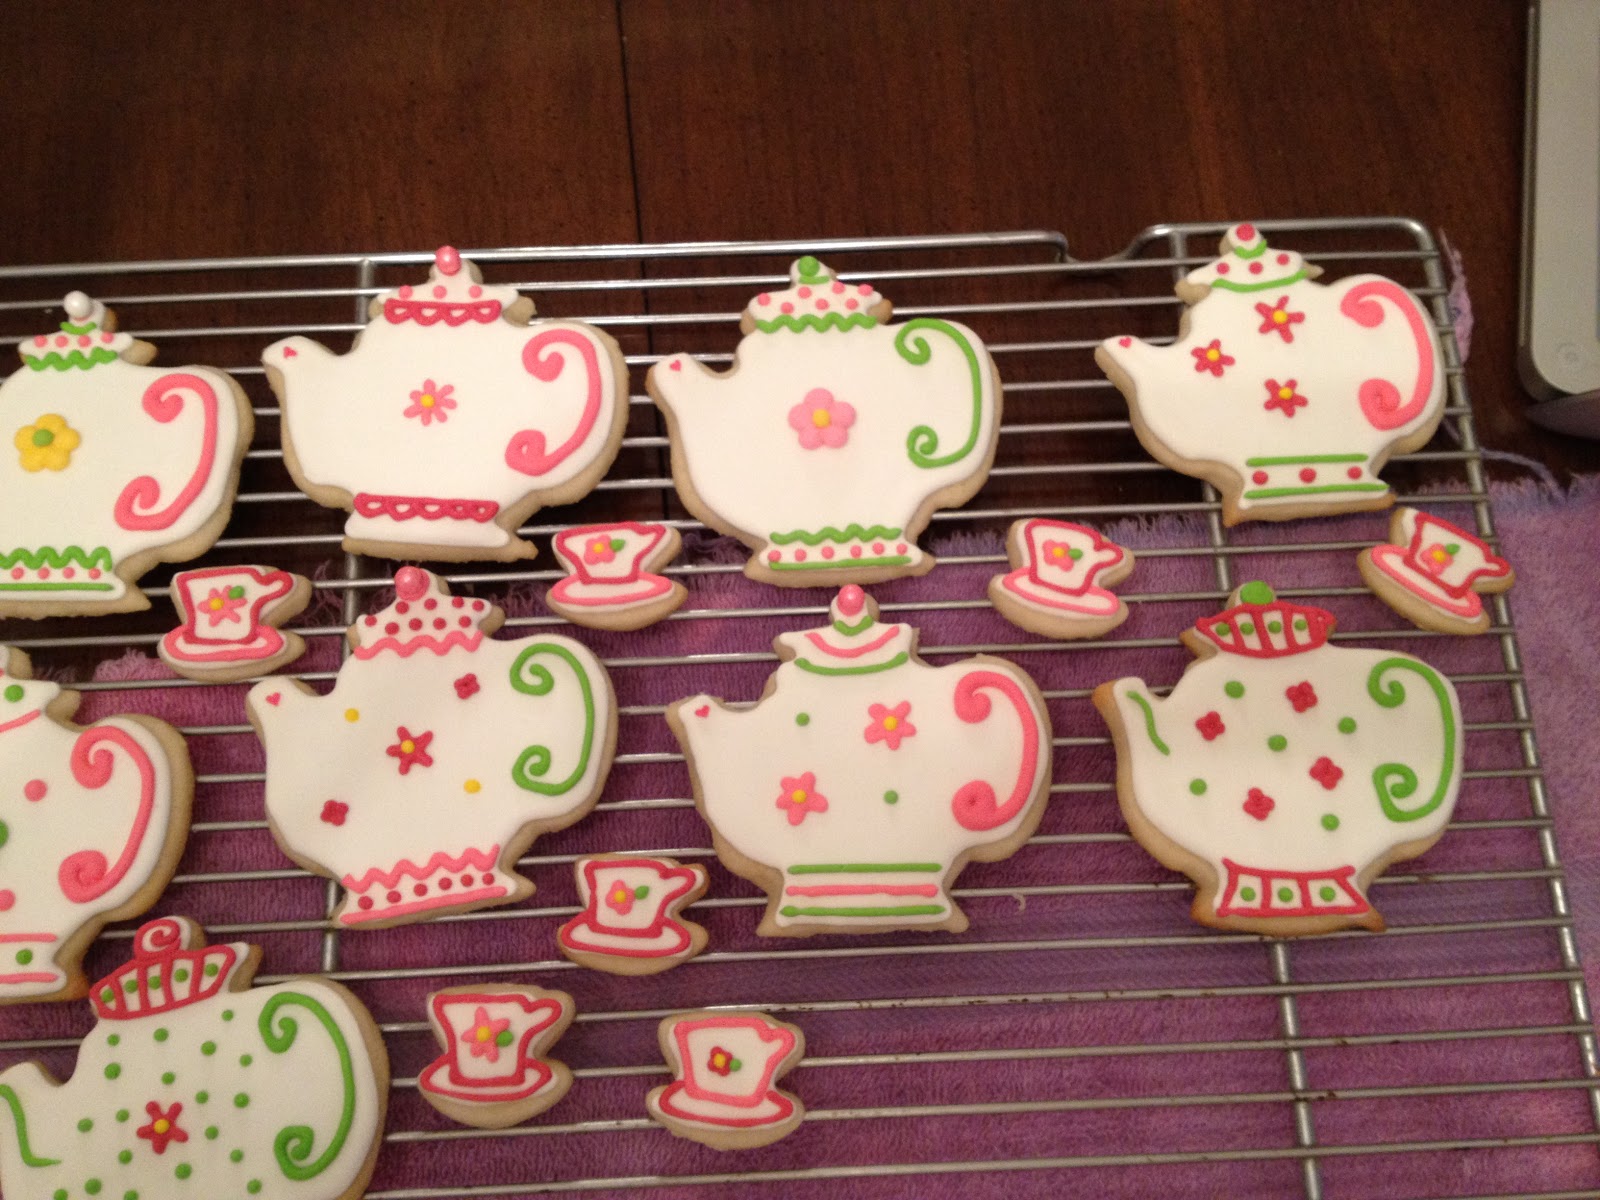
So I made the teapot cookies as well as mini teacup cookies. I decided to make them all white just to keep it clean and uniform. 

I started with the white outline.
Then I filled in the cookies!
The only thing I really regretted doing was filling in the handle with white.  I should have left the handle area blank.

No turning back now!

I decided to just add a handle in pink and green on top of the white icing.  I figured it would still look cute.  It is also very important to keep the white icing clean.  Everything tends to show on white!
Pink Handle!
Green Handle!


 I really had a tough time deciding on what to put on the cookies.  I sometimes put a lot of pressure on myself to make it perfect.  After discussing with my mom, I felt a bit more confident and just went for it.  I decorated the tops and bottoms of the teapot before moving onto the middle.


The colors are light pink, bright pink and green.  The bright pink looks red in the pictures, but believe me it's pink.

After the teapots dried thoroughly, I decorated the rest of the cookie!  I also decorated the little mini teapot cookies as well.  Here are some photos of the finished cookies!
I made flower transfers to make it easy to add to the cookies.

The larger flower transfers I bought!


As stressed out as I was, I think the cookies turned out pretty cute.  I put them in bags, tied them up and placed my company sticker on the back.


When I have a picture of the final basket all together I will post it on the blog! 

Sunday, April 15, 2012

TEA TIME!

So a friend of mine asked me to make teapot cookies for a bridal shower she is throwing.  I am a bit nervous because I want them to be perfect, or pretty close to it.  I am very new to the cookie decorating world, and I really haven't mastered royal icing.  You really need the perfect consistency to make cookie decorating a lot easier.  I have already baked all of the cookies.  I made large teapots and small teacups.  The cookie dough I made was extremely sticky.  This recipe always seems to be a bit stickier than others I have used, but it tends to taste the best. I guess that's the trade off.  I am going to start decorating tomorrow.  I will make the royal icing in the morning and hit the ground running. The colors for the party are bright and light pink and bright green.  I was thinking of making all the teapots white and then outlining them in pink and green and adding flowers or stripes.  I am not really 100% sure of what I will do, but I know I am nervous.  I have never made cookies for someone else.  I have only played around with it and figured things out as I went along.  When you have a specific theme and colors, you really have to be able to match them.  Well, we shall see how it goes!  Wish me luck!

Monday, February 13, 2012

Love is in the air!

So I have been working on my Valentine's Day cookies for the last few days. The first day, when I decided to bake my cookies, I couldn't find my recipe.  I didn't know where I had put it, and I was kicking myself for not leaving it with all my cookie baking supplies.  Anyways, after much anguish I decided to look up a different recipe.  I used Sweetopia's sugar cookie recipe! http://sweetopia.net/2009/12/sugar-cookie-recipe/

For those of you who don't know this site, you have to check it out!  She is the master of cookie decorating!

Well I was a little concerned after I made the dough, because it was a little stickier and softer than I would have like.  I added flour and did my best to make it work, and the cookies turned out just fine!  They are also a lot tastier than the other recipe I used.  Oh and as soon as I was done making the cookies, I found my recipe!  Well, I didn't, but my husband did.

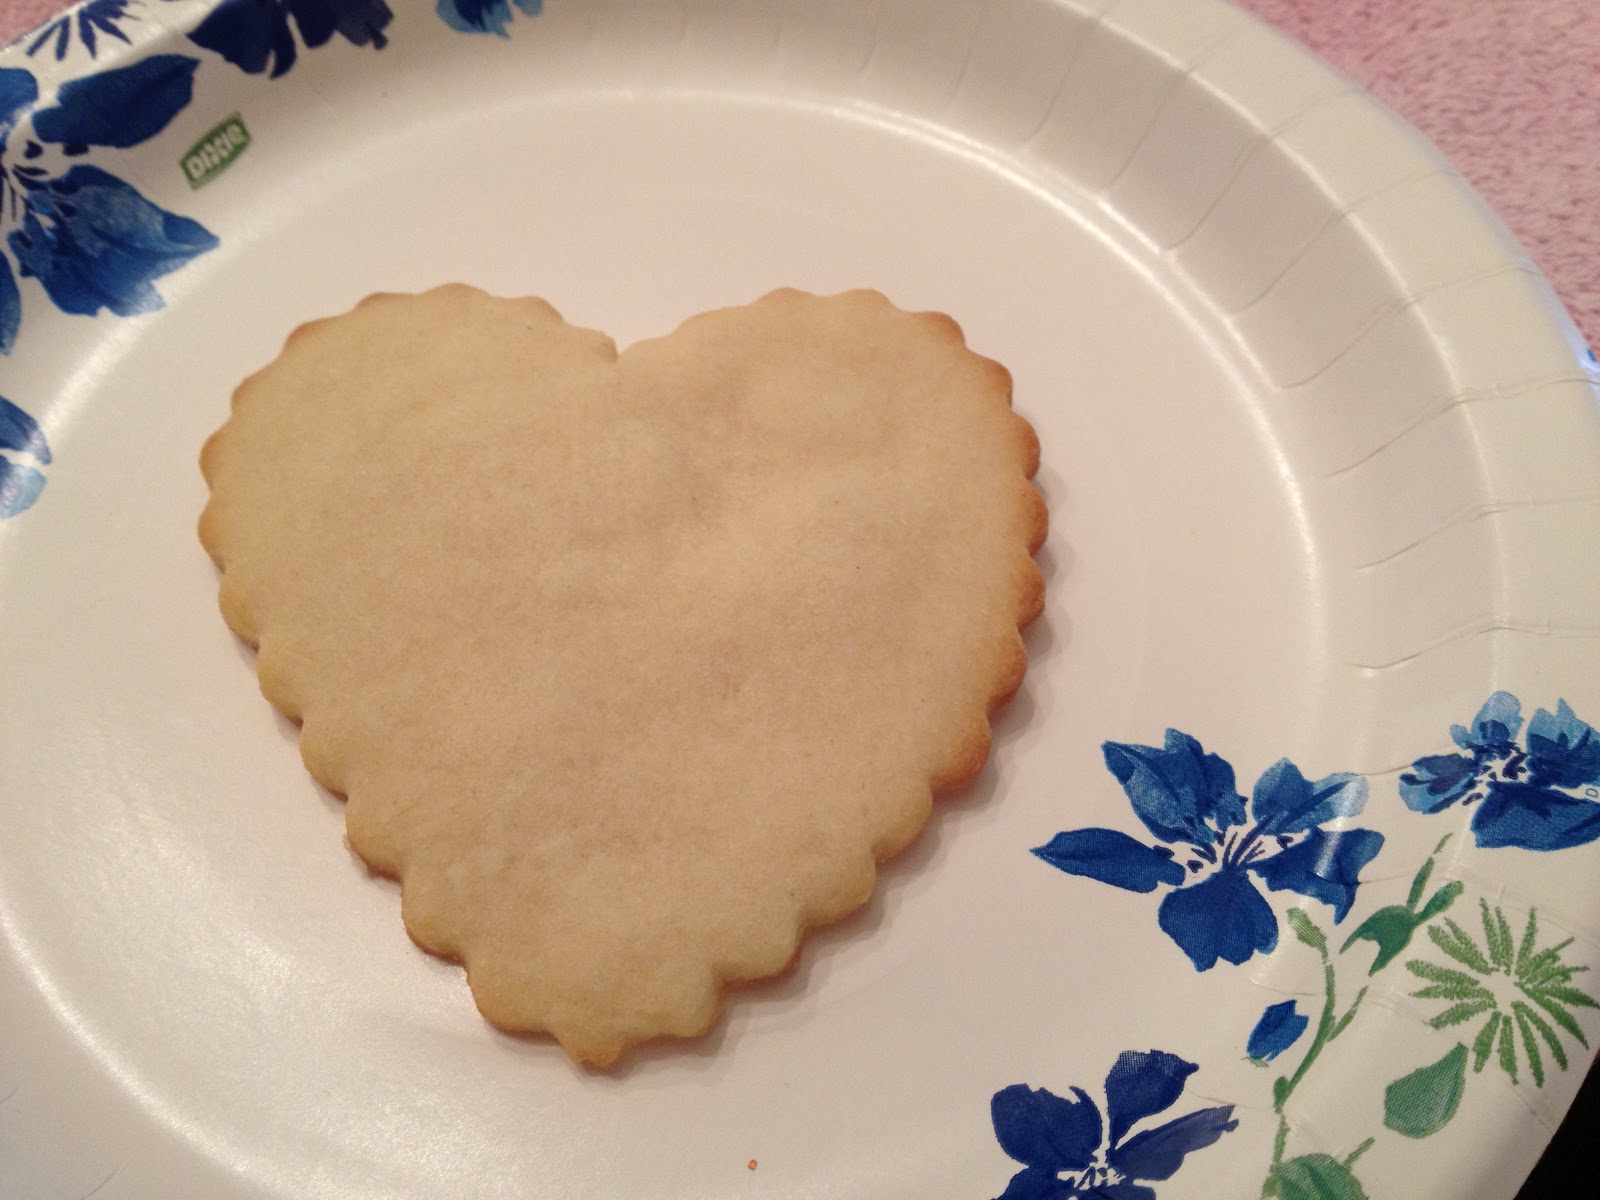
Here are a couple of photos of the plain cookies:


 One technique that I learned was to make hearts out of dots using a toothpick. 

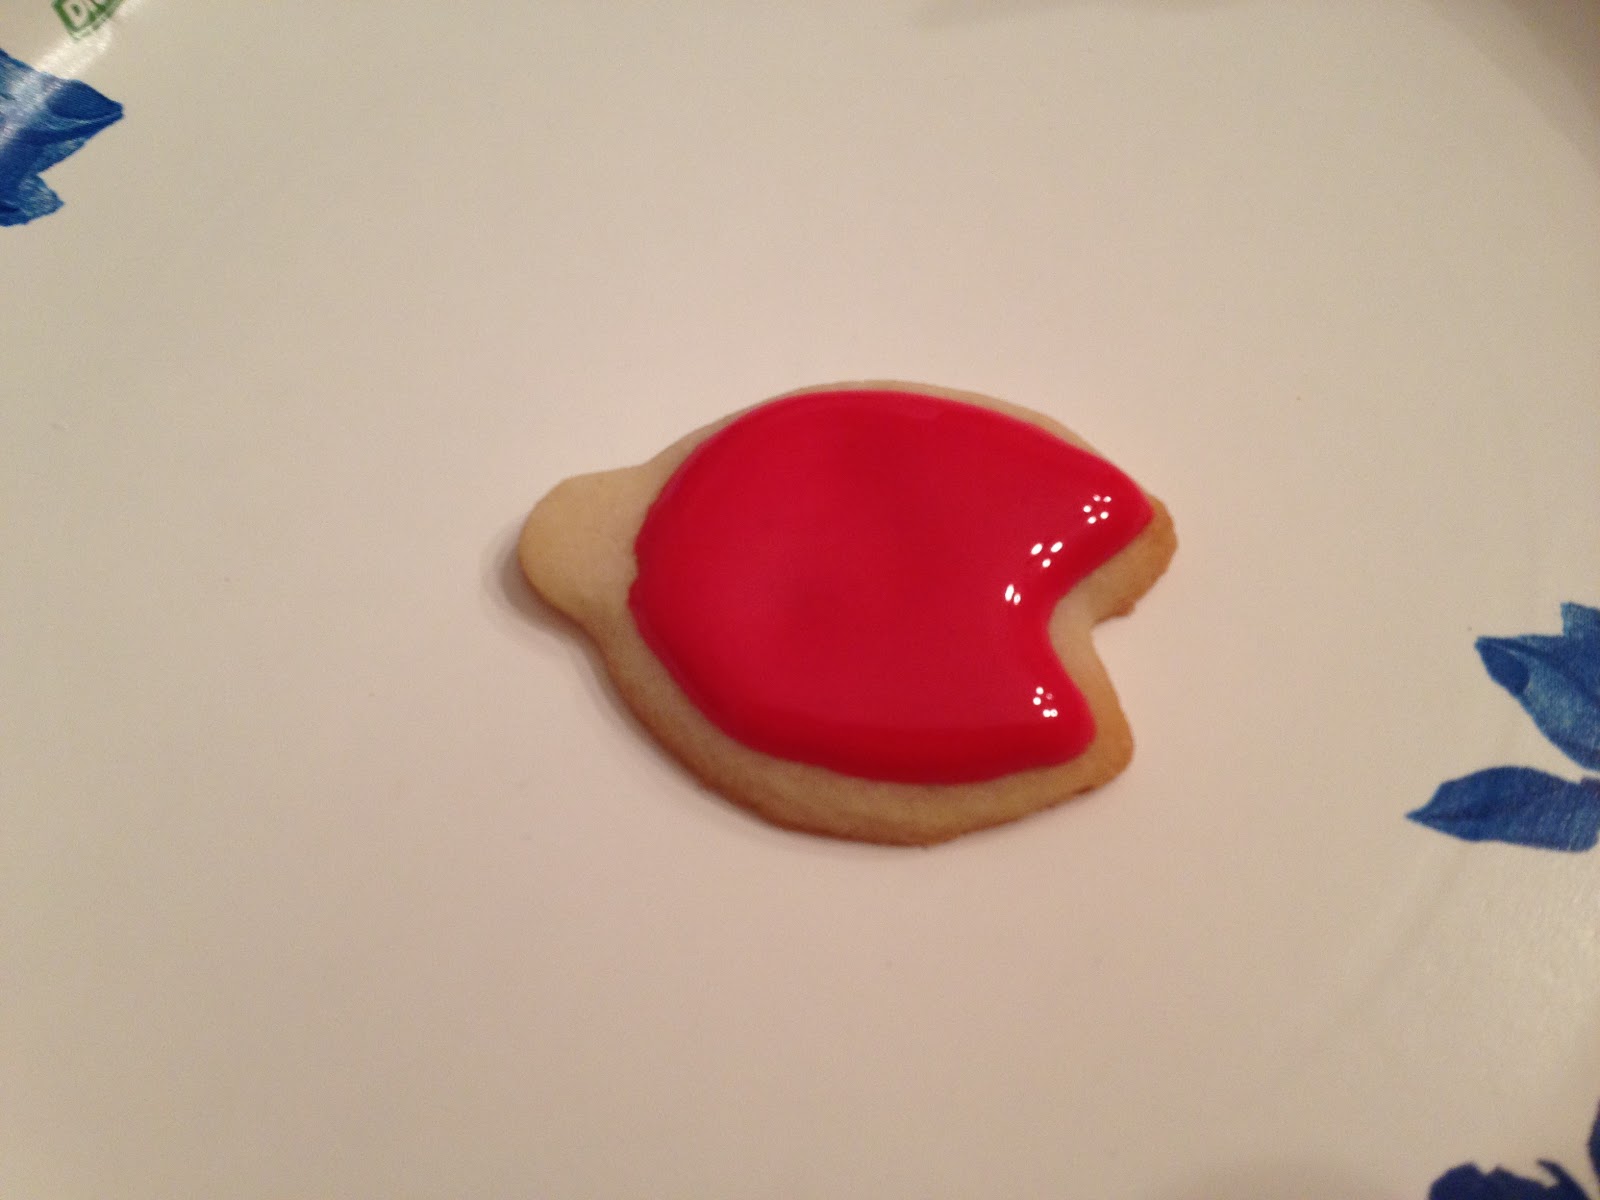
First you fill your heart with red icing.


Then you add white dots.


Finally you take your toothpick and you slowly and gently drag it through all of the dots!

Voila!  I used this a lot on many of my cookies.  I just think it makes for a very fancy looking cookie.  You can do multicolored dots so that you would have two different colored hearts on top of one another.

These cookies use the heart technique.
I also discovered marbling two icing colors together, which I totally discovered by accident.  I ran out of pink icing, so I decide to add some white, and then I just started swirling them around with a toothpick.
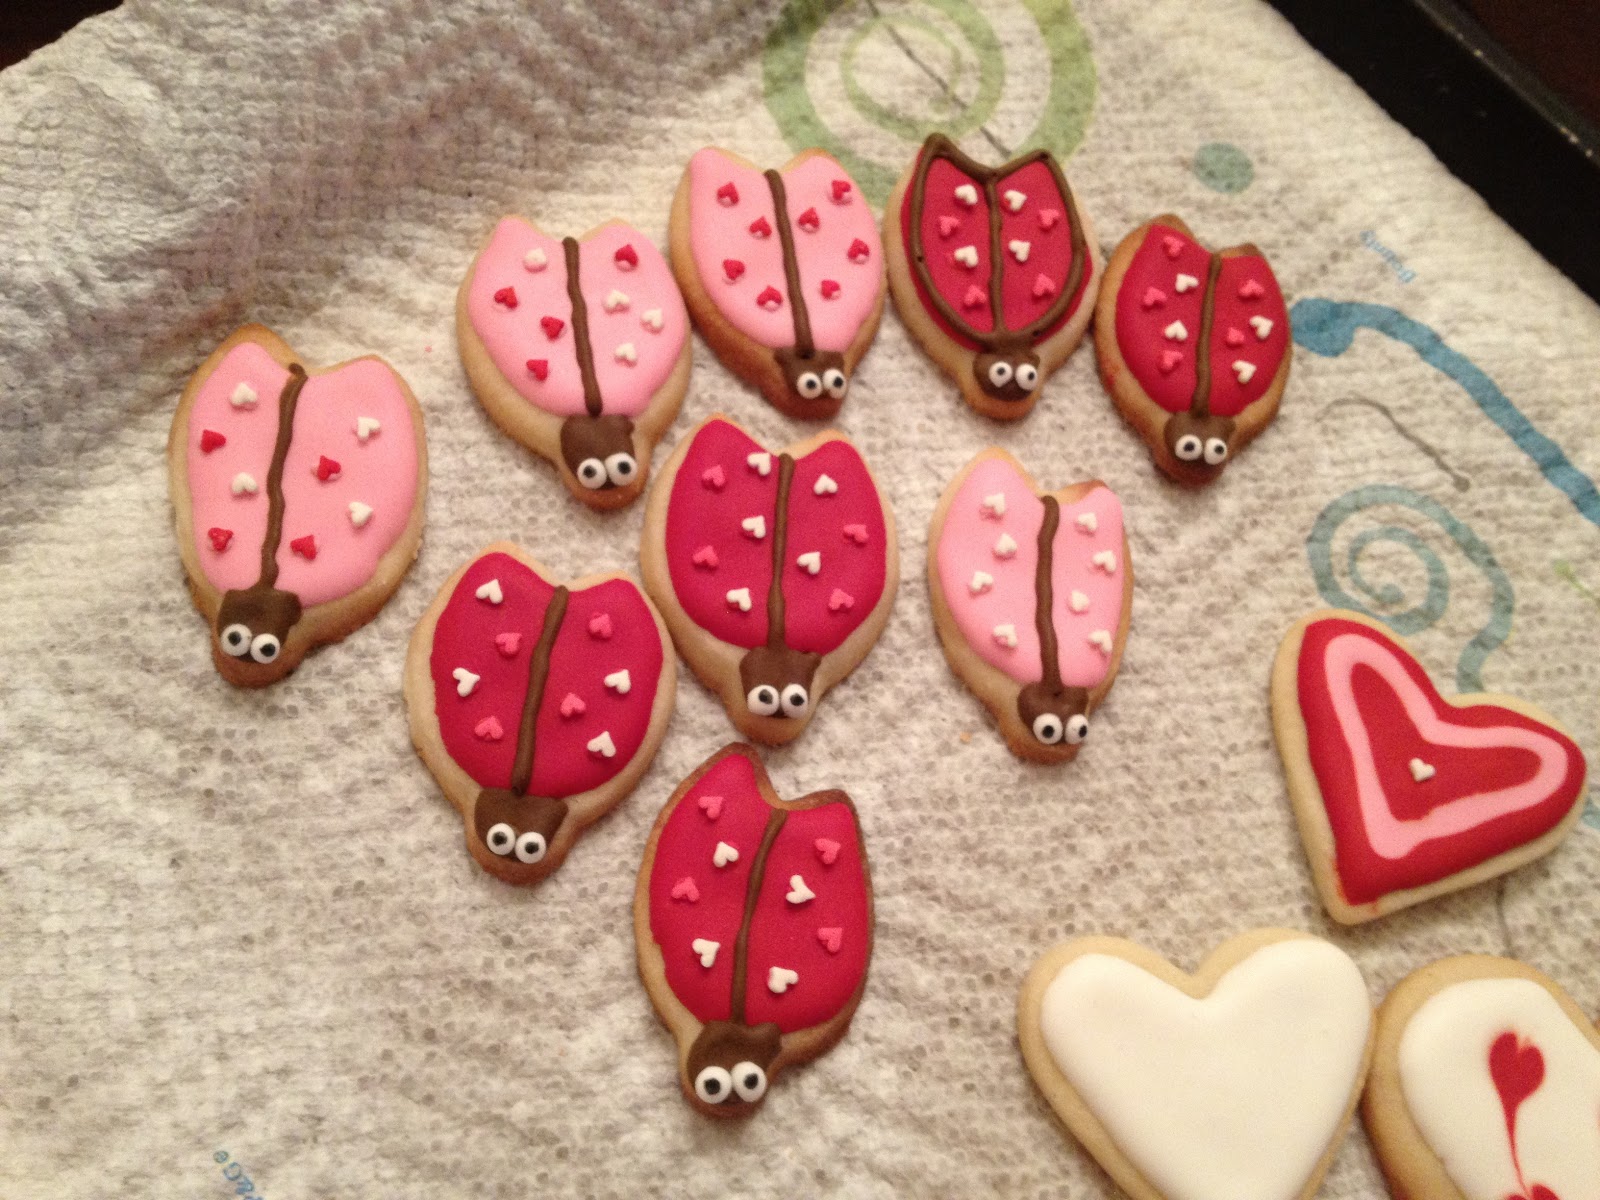
I also made some mini ladybug cookies.  These were more time consuming than I would have expected.  It was just that they took a lot of detailed work with a tweezer.

Ladybug with just red icing.  I think it looks like a fly!


Added the wing line.  Still looks like a fly to me!

Finally added eyes and heart dots!

Still kinda fly like.


For the eyes I made white dotes on wax paper, waited for them to dry, and then with an edible black marker, drew the pupils.
White dots on wax paper.
I also used these eyes for my frog cookies.


This I made for my husband for Valentine's Day!  He loves frogs!

If you notice in some of the cookies you can see little dents in the icing.  This is due to not putting enough icing on the cookie.  You have to make sure you really have an even layer of icing in order to make a nice smooth cookie.  Patience is really key in this kind of work.

Here are a bunch of picks of all the cookies.  I made them in all sizes!
A bunch of heart sprinkles!


I used a stencil to put Be Mine on this cookie.  It also got a little dented on the side.  OOPS!


These two cookies I thought were pretty hilarious!  I saw this on a website and just had to try it out.  I wish I had done more cookies like this.
 All these cookies are going over to Happy Madison tomorrow!
HAPPY VALENTINE'S DAY EVERYONE!