Wednesday, June 5, 2013

The Dark Side of Cookies.

I am starting a new job on Wednesday, June 5th and I wanted to bring some first day cookies to my boss.  I know he is a Star Wars fan, so I thought these would be perfect.

I borrowed the cookie cutters from my sister in law, whose son happens to love Star Wars as well.  I decided to just make some Darth Vader and Storm Trooper cookies.  I wasn't sure how I was going to manage the Vader cookies.  Black icing is a bit tough.


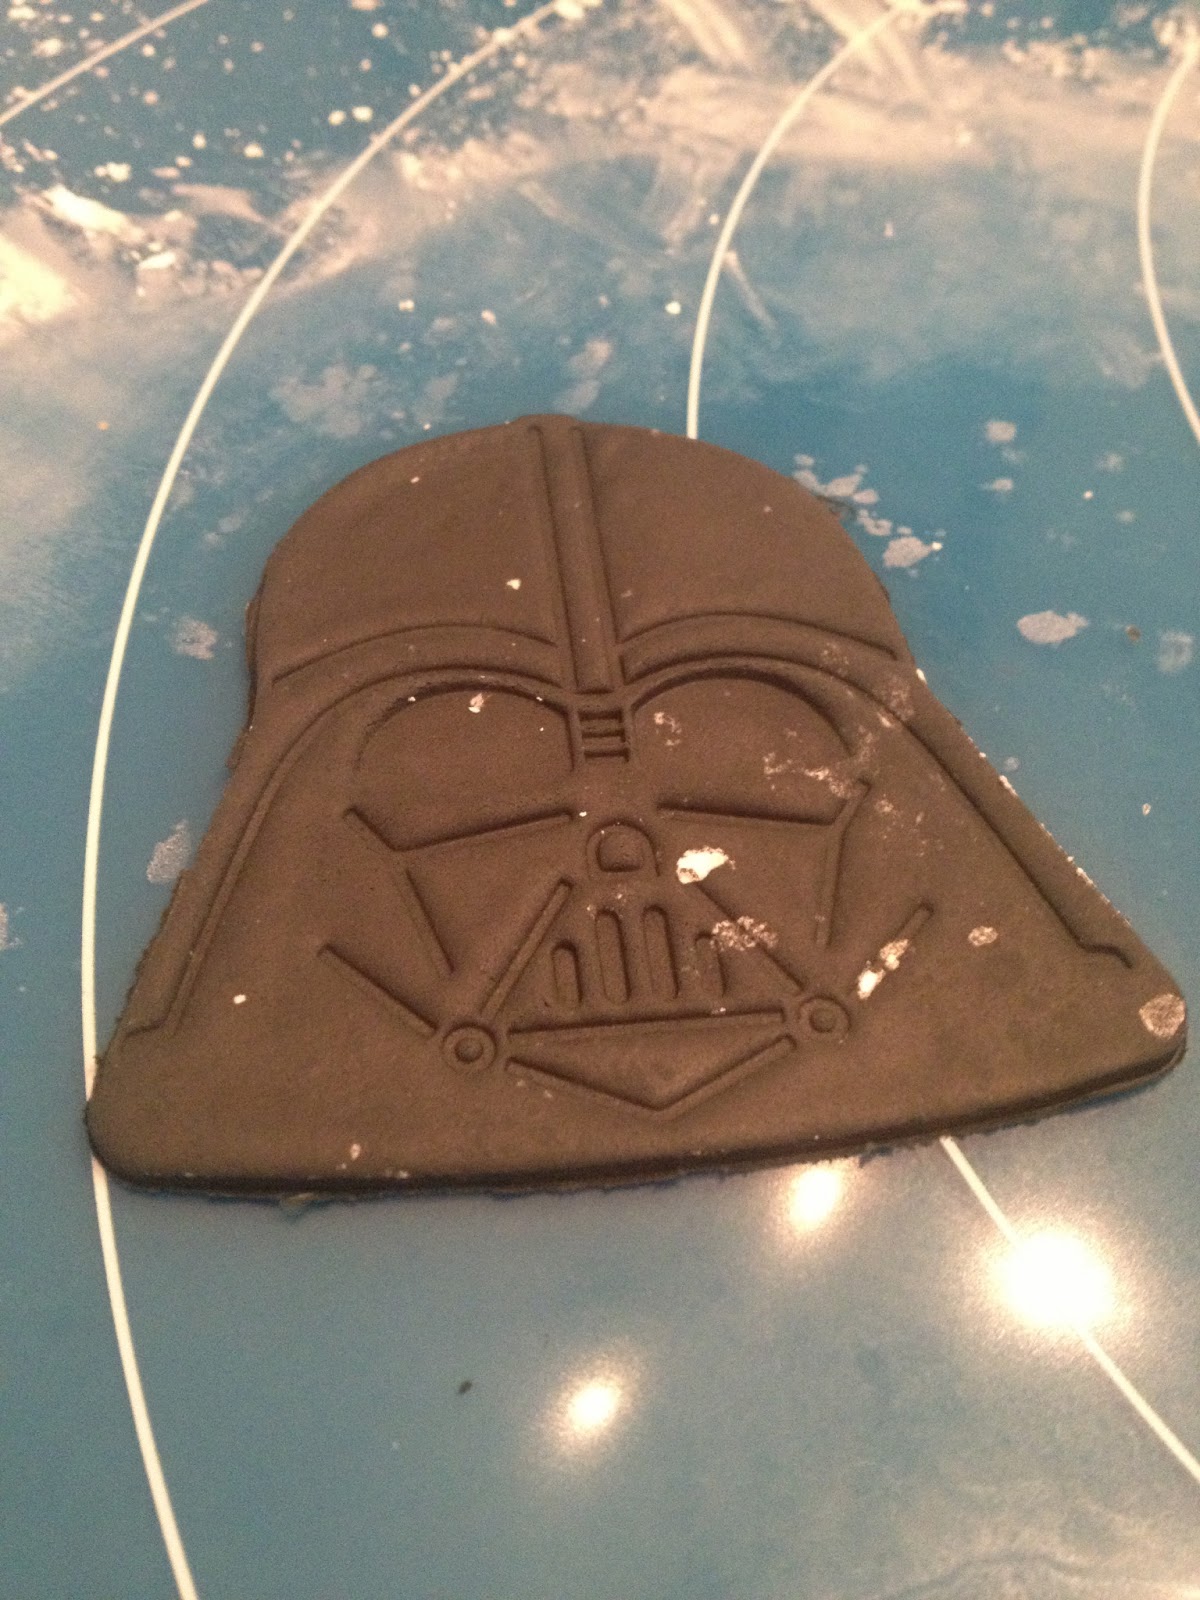
 I attempted to cover the Darth Vader cookies with black royal icing, but getting the details of the face was turning out to be very tricky.  So, I thought the best solution would be to roll out some fondant!

I dyed some fondant black, rolled it out and cut away.

Cut out of black fondant.
Once you cut out the fondant, you brush the back with water and press it onto the cookie.  Be careful to only really press the edges, so you don't mess up the details on the face.

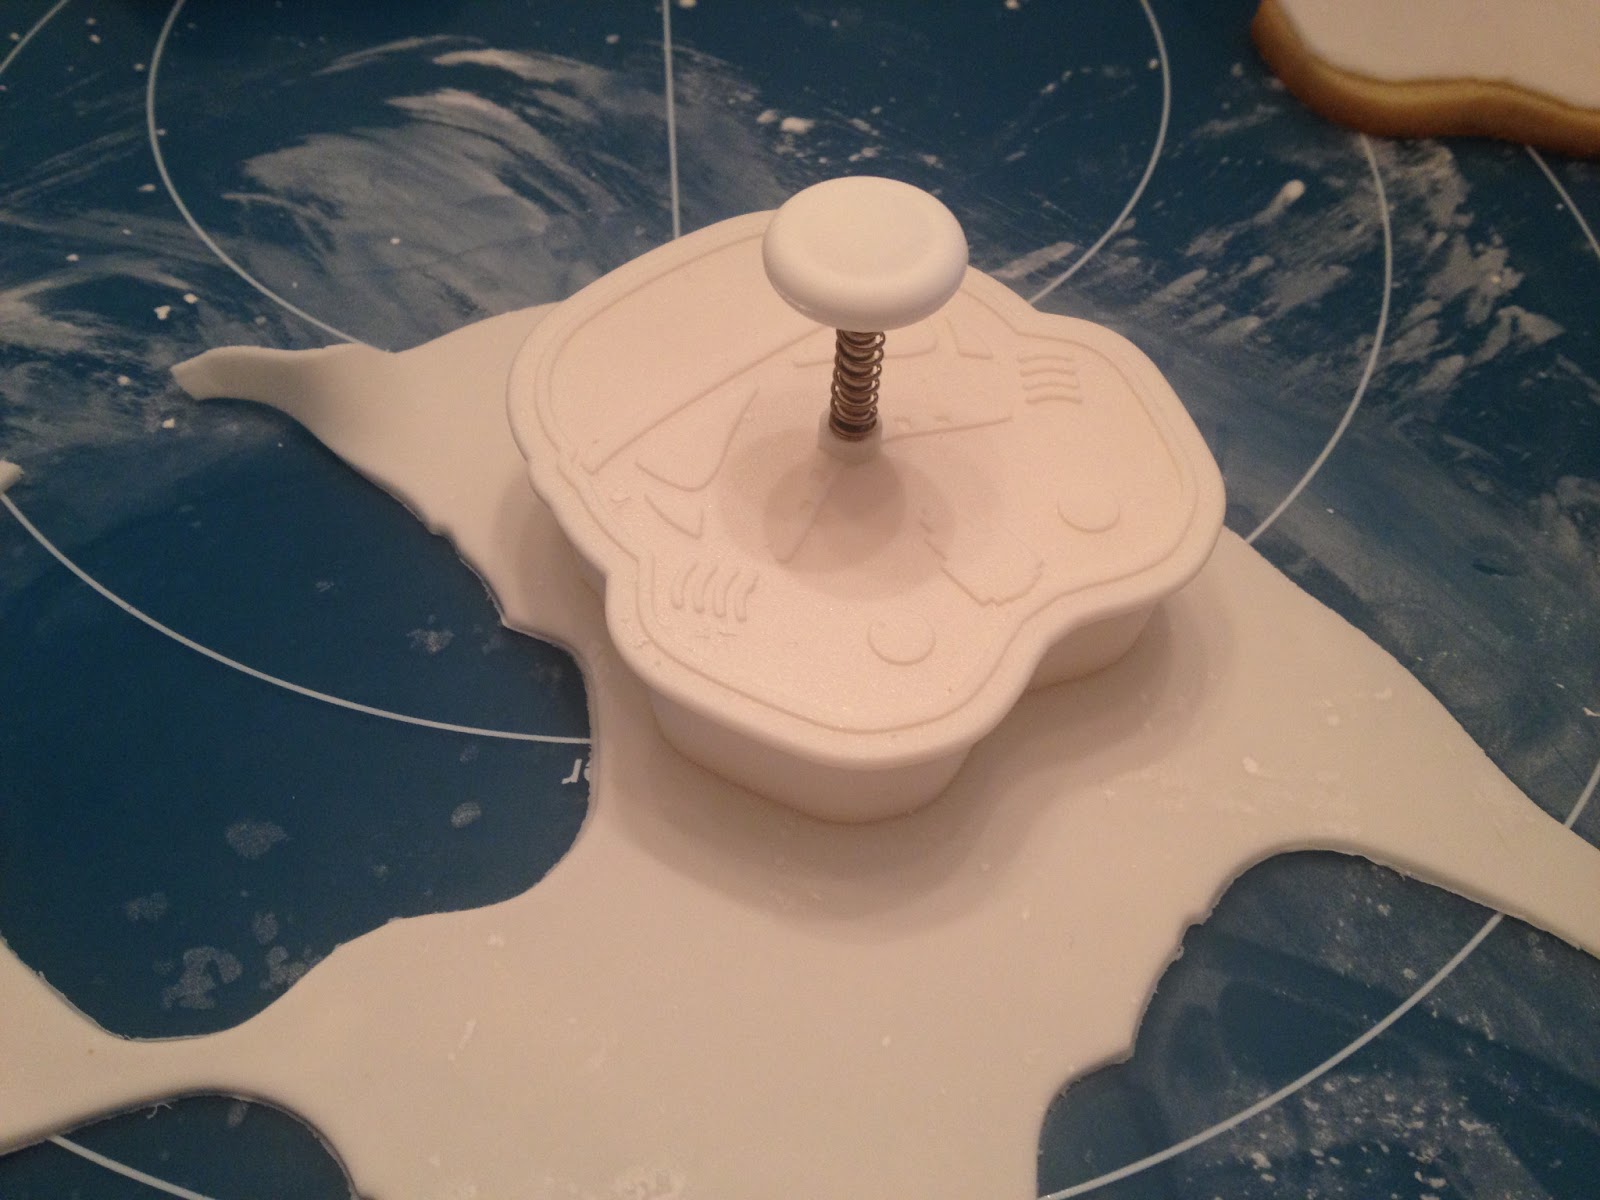
I decided to do the same technique for the Storm Trooper cookies.

Fondant rolled and cookie cutter pressed in.

Cookie cutter lifted away.
Water brushed on back of fondant cut out.

Cookie placed on top of fondant.

Flip over cookie!

Pressed the edged on so that you are sure the fondant is secure.
After I got all the fondant on all the cookies, I had to add the details of the Storm Troopers.  I used my black royal icing, and VERY carefully started filling in the features.


Completed cookie!


These cookies are a bit time consuming and now that I have done them once, I can see some short cuts I can take next time.


May the Force Be With You!

Monday, June 3, 2013

Game, Game of Thrones!

The last episode of Game of Thrones is next weekend, and a friend of mine wanted some cookies to have at their get together.  I originally wanted to print out images of all the characters and put them on the cookies, but Gloria's Cake and Candy Supply won't print out copy written images.  This made it very difficult to decide how to make GOT cookies. 

I started doing some research on the internet and I came across this image.

I thought this would make the perfect cookies.  I re-sized them to squares and I took off the house name, just in case they wouldn't print it if they recognized the names.

The first step is always to bake the cookies, obviously, and then put on the icing.  I just wanted to put a white base coat, since I knew the image was going to go on top.


I outlined all the cookies with white icing and then proceeded to fill them all in.


Once they were all done I let them dry over night.  It is always important to let your cookies dry completely before adding the edible image.

The next day I added the images.

Start with your dried cookie!

Next cut out your edible image!

Brush cookie with corn syrup and add image. Make sure to press from the middle out.

Image cut out.

Peeling image off paper.


It is always difficult to deal with these icing sheet when the weather is warm.  Doing anything with icing is hard when the it is humid and hot.  These sheets are very delicate and can tear easily.

All images on cookies.

 The last thing I had to do was add the white border.  Here are a few pictures of the completed cookies.

Completed cookies.


One kind of border.


Second kind of border.


 I hope you all enjoy the season finale of GOT next week!  I know I will!