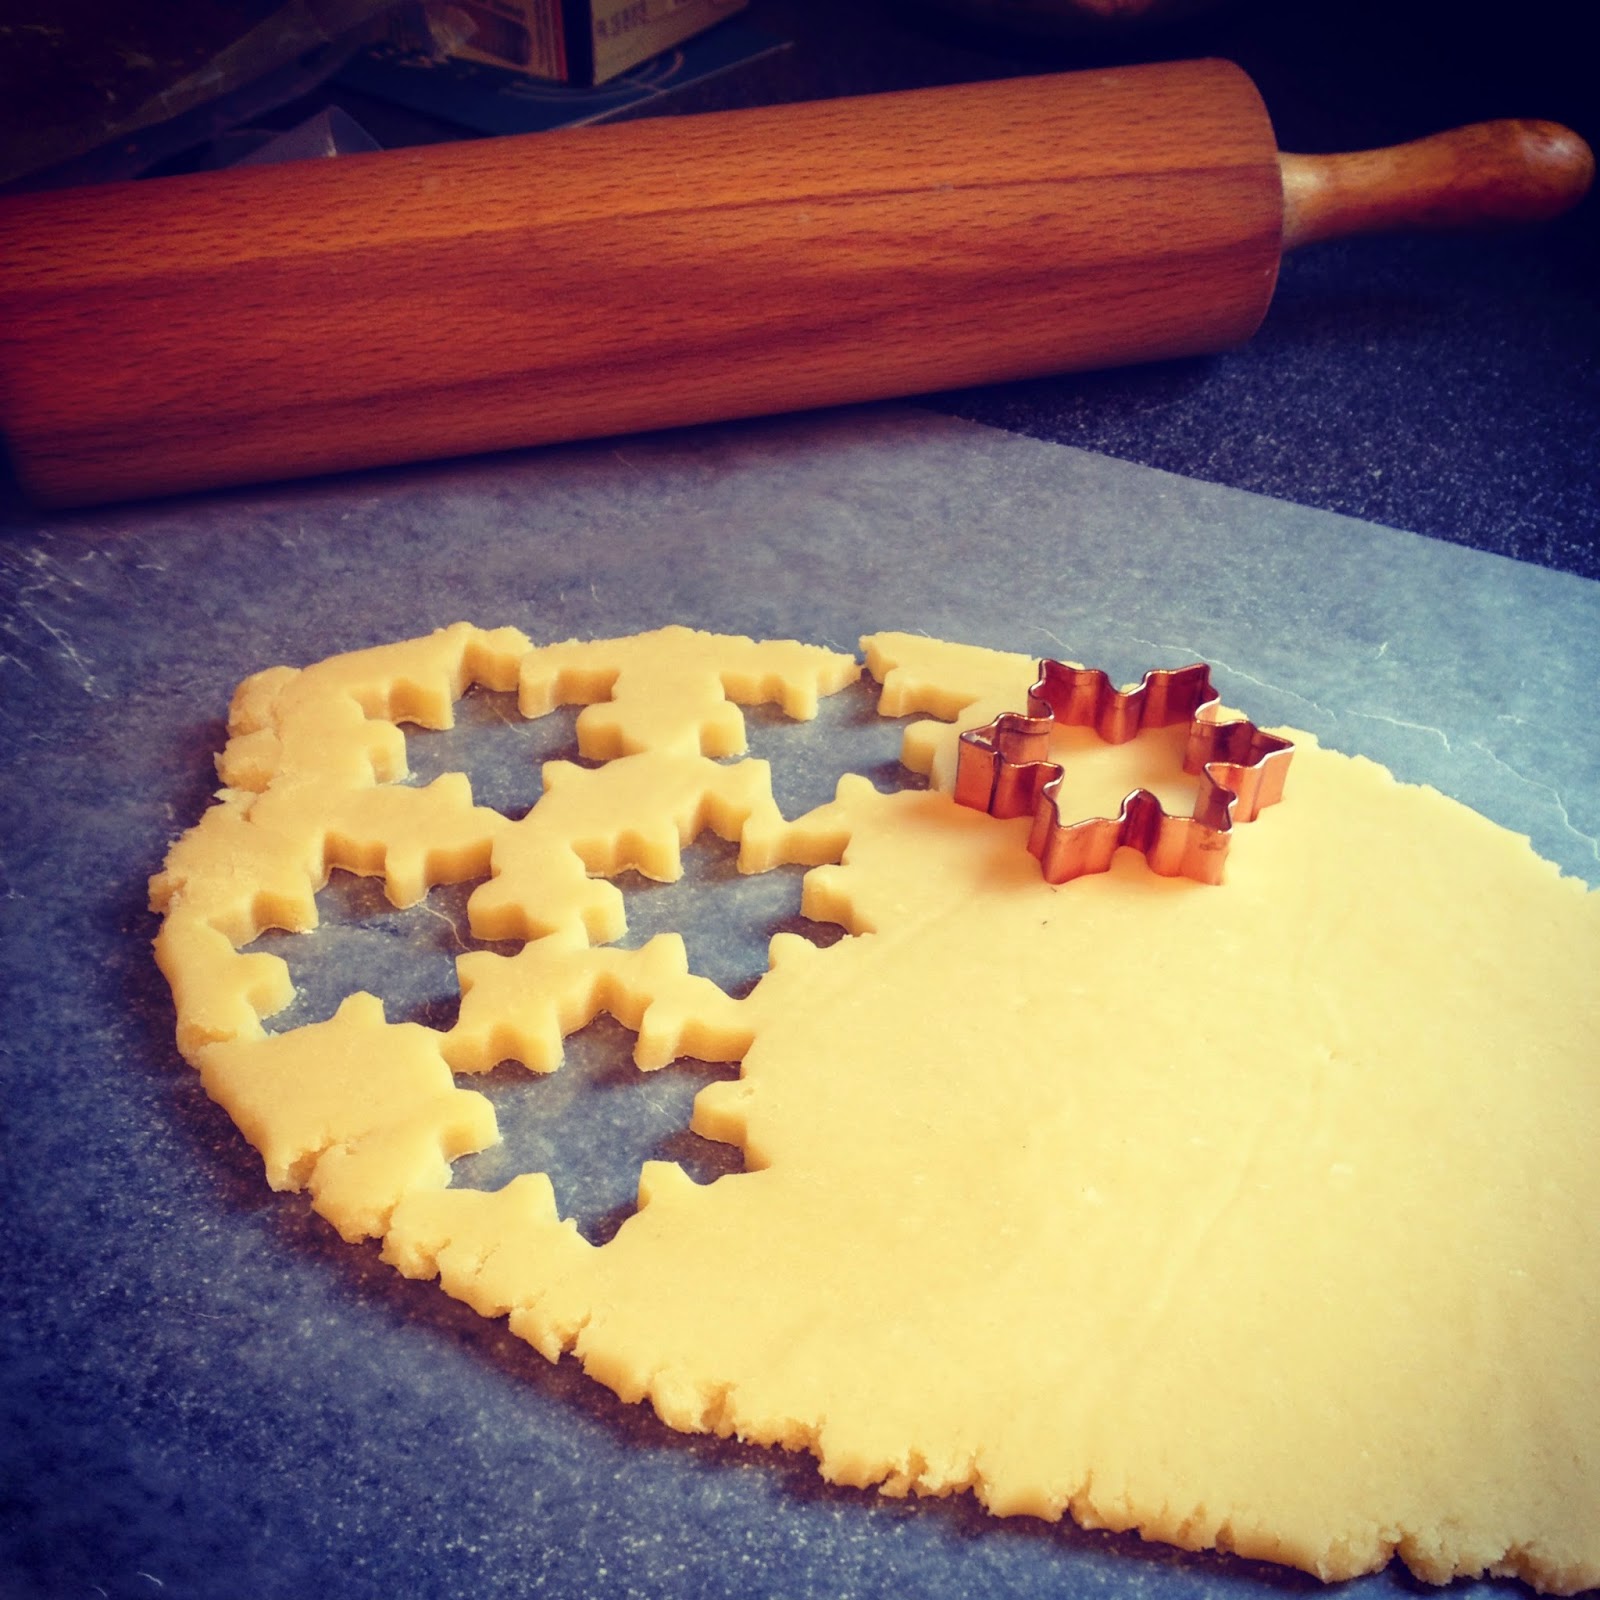
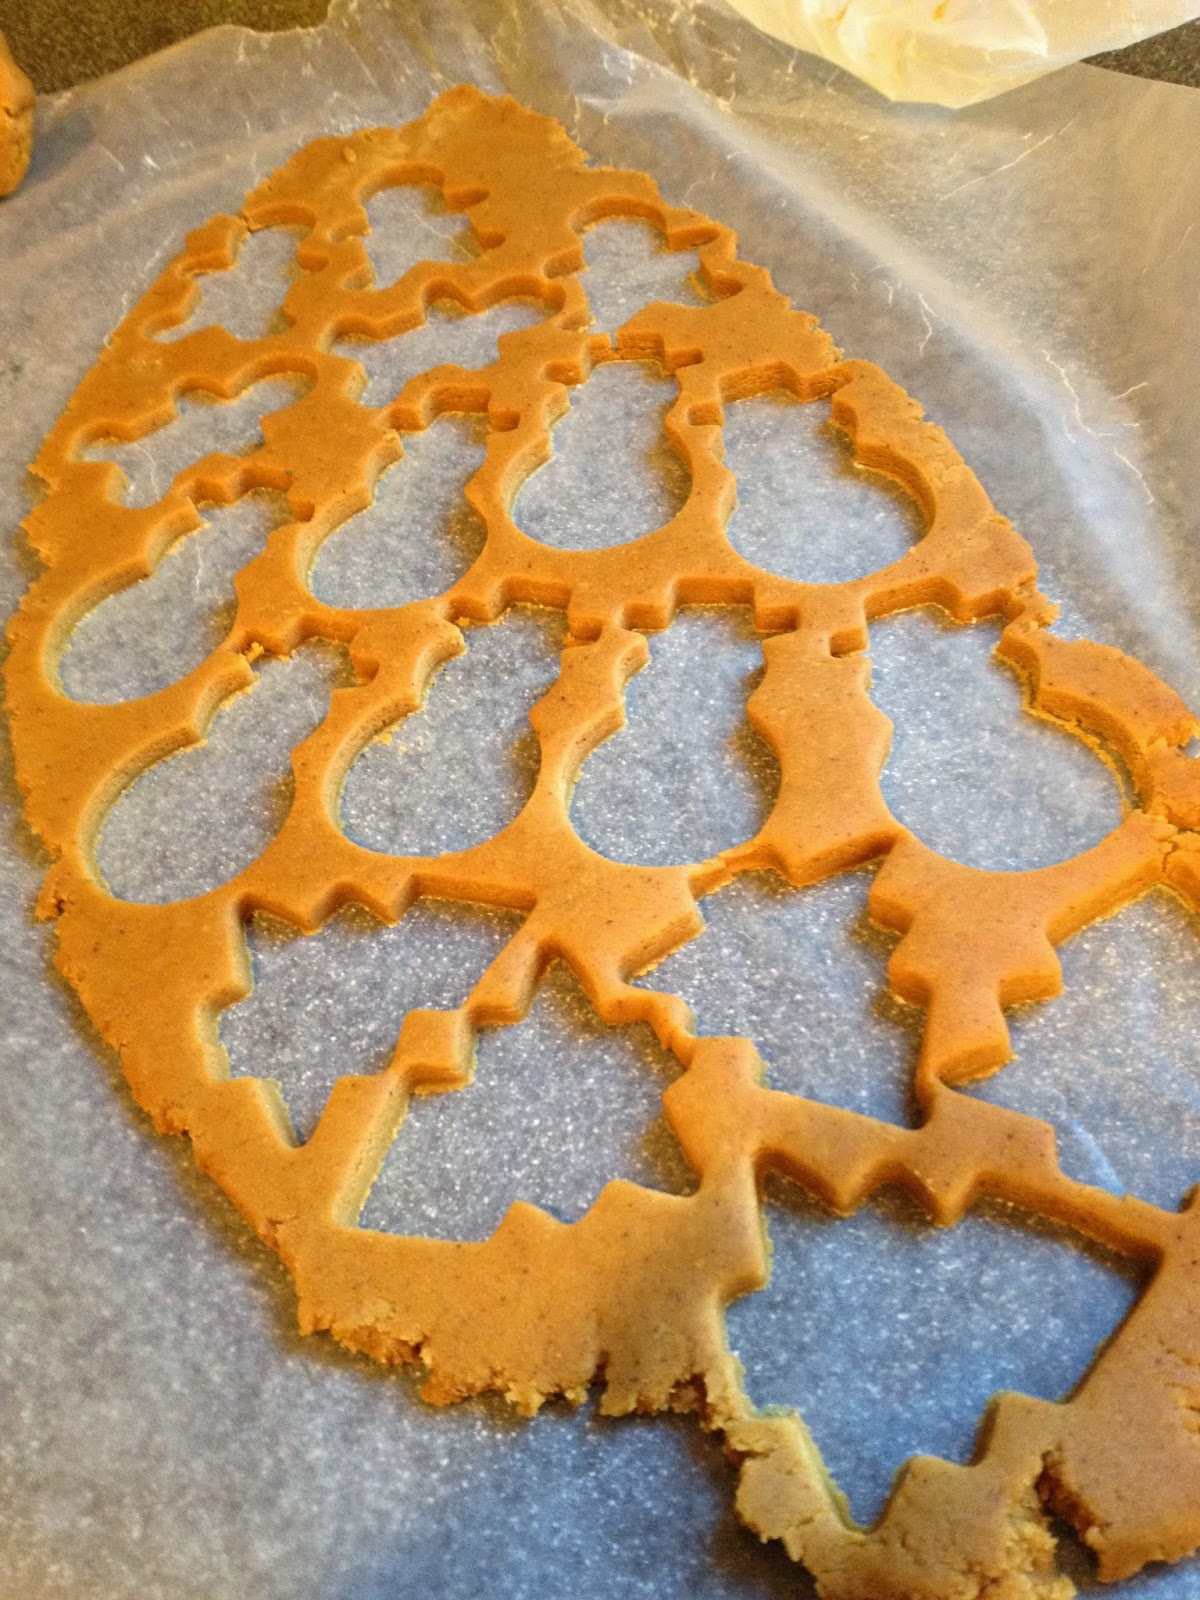
I didn't have a rolling pin, so I had to roll out the dough using a bottle of wine, which works perfectly! One bottle for rolling dough and one for drinking!

I did my usual, roll out dough, freeze for 10 minutes, cut out shapes and then freeze again for 10 minutes.

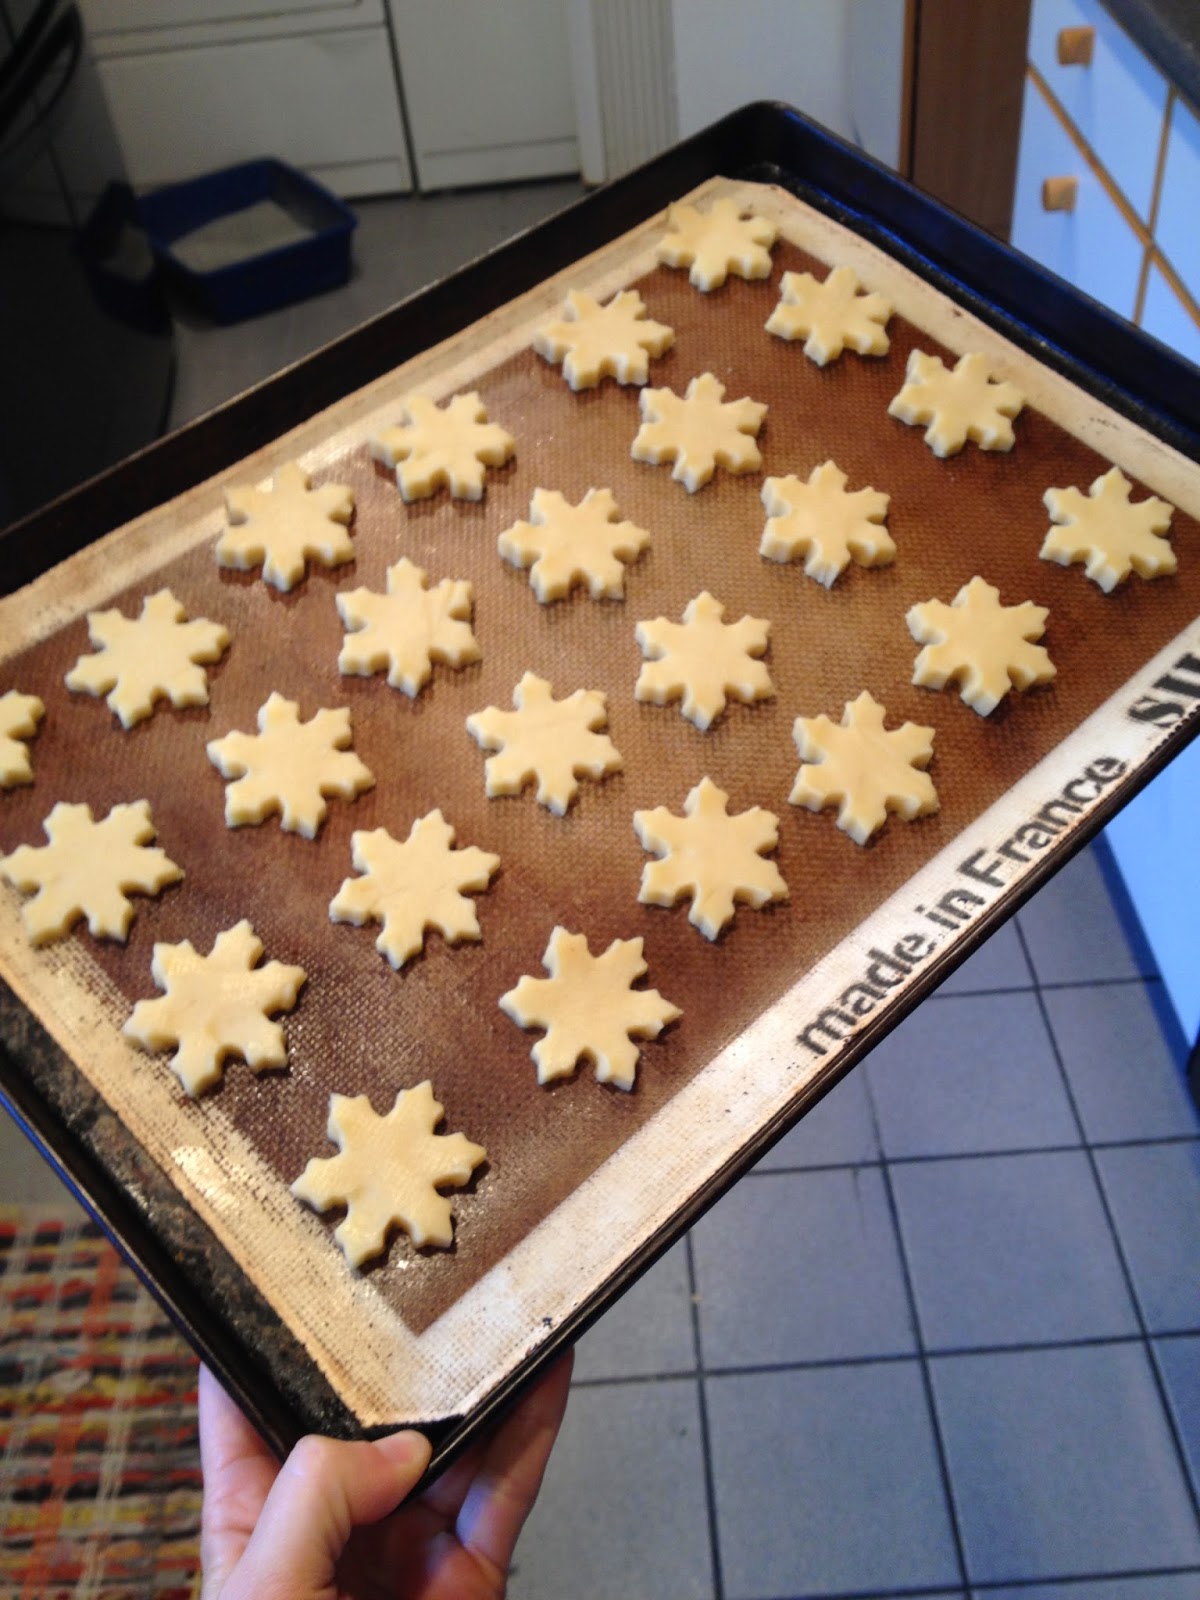
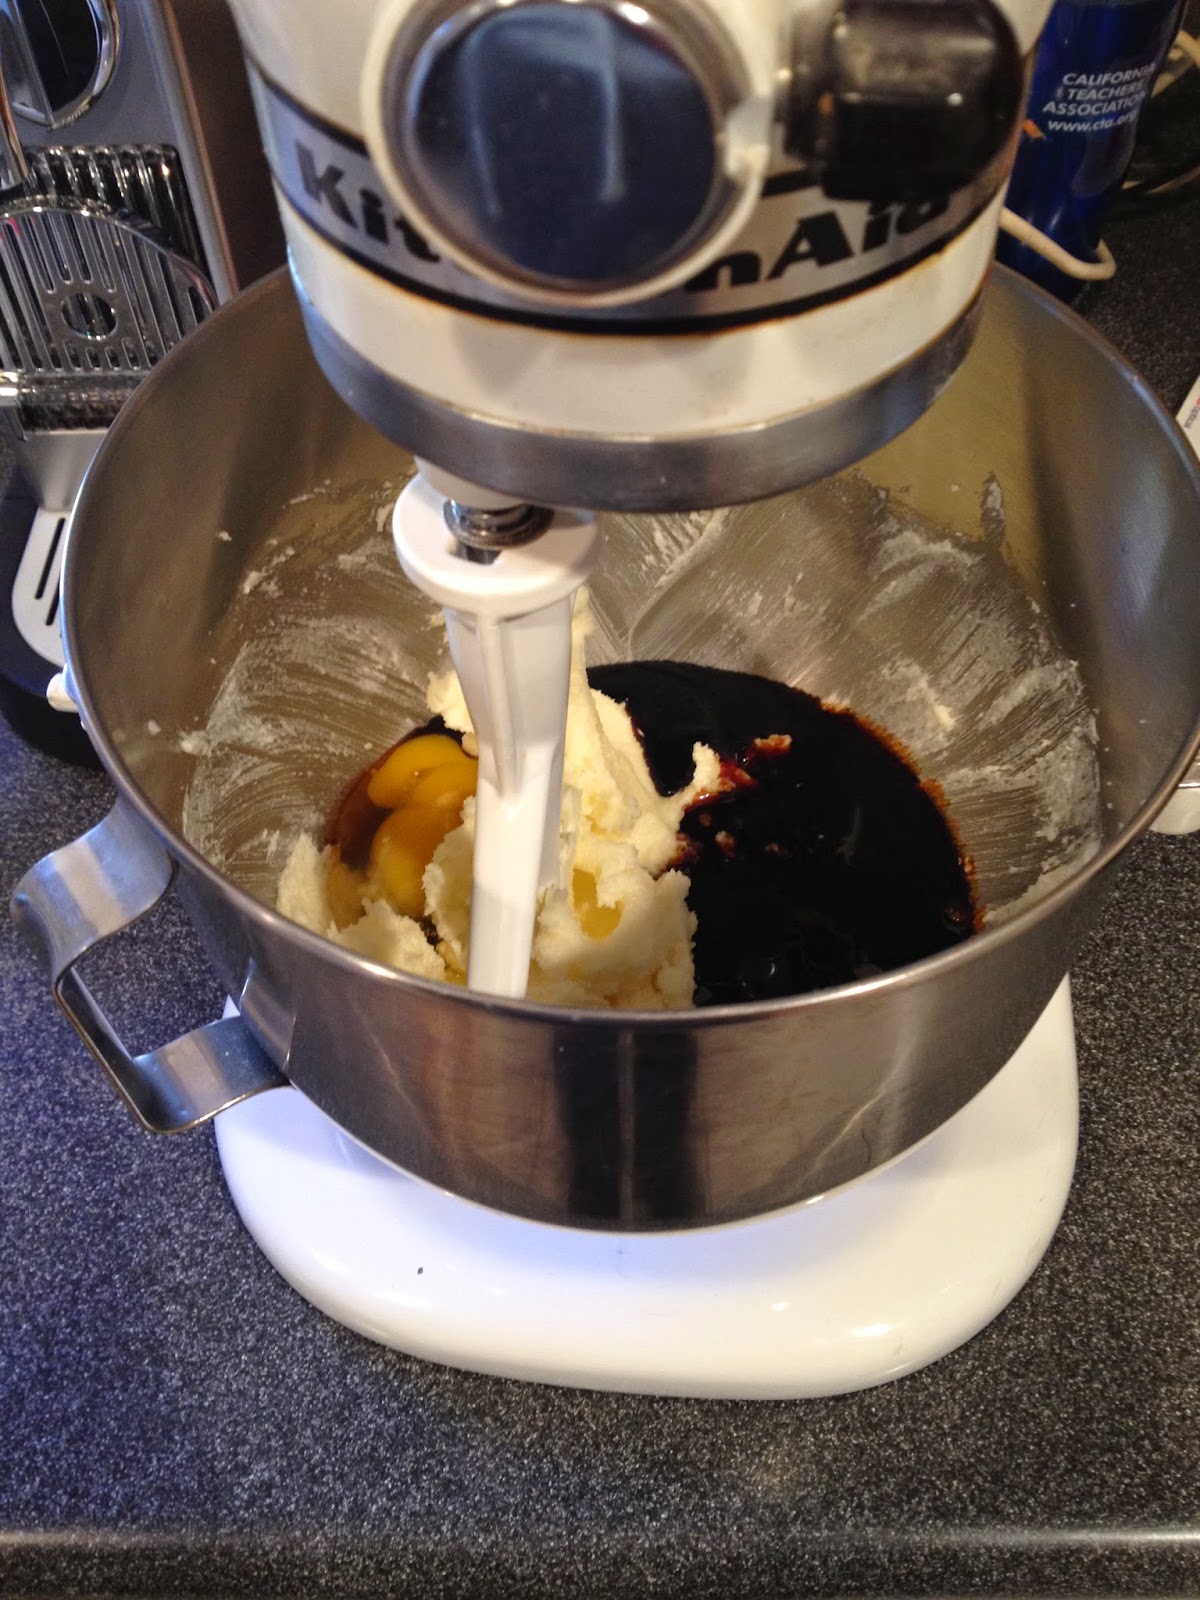
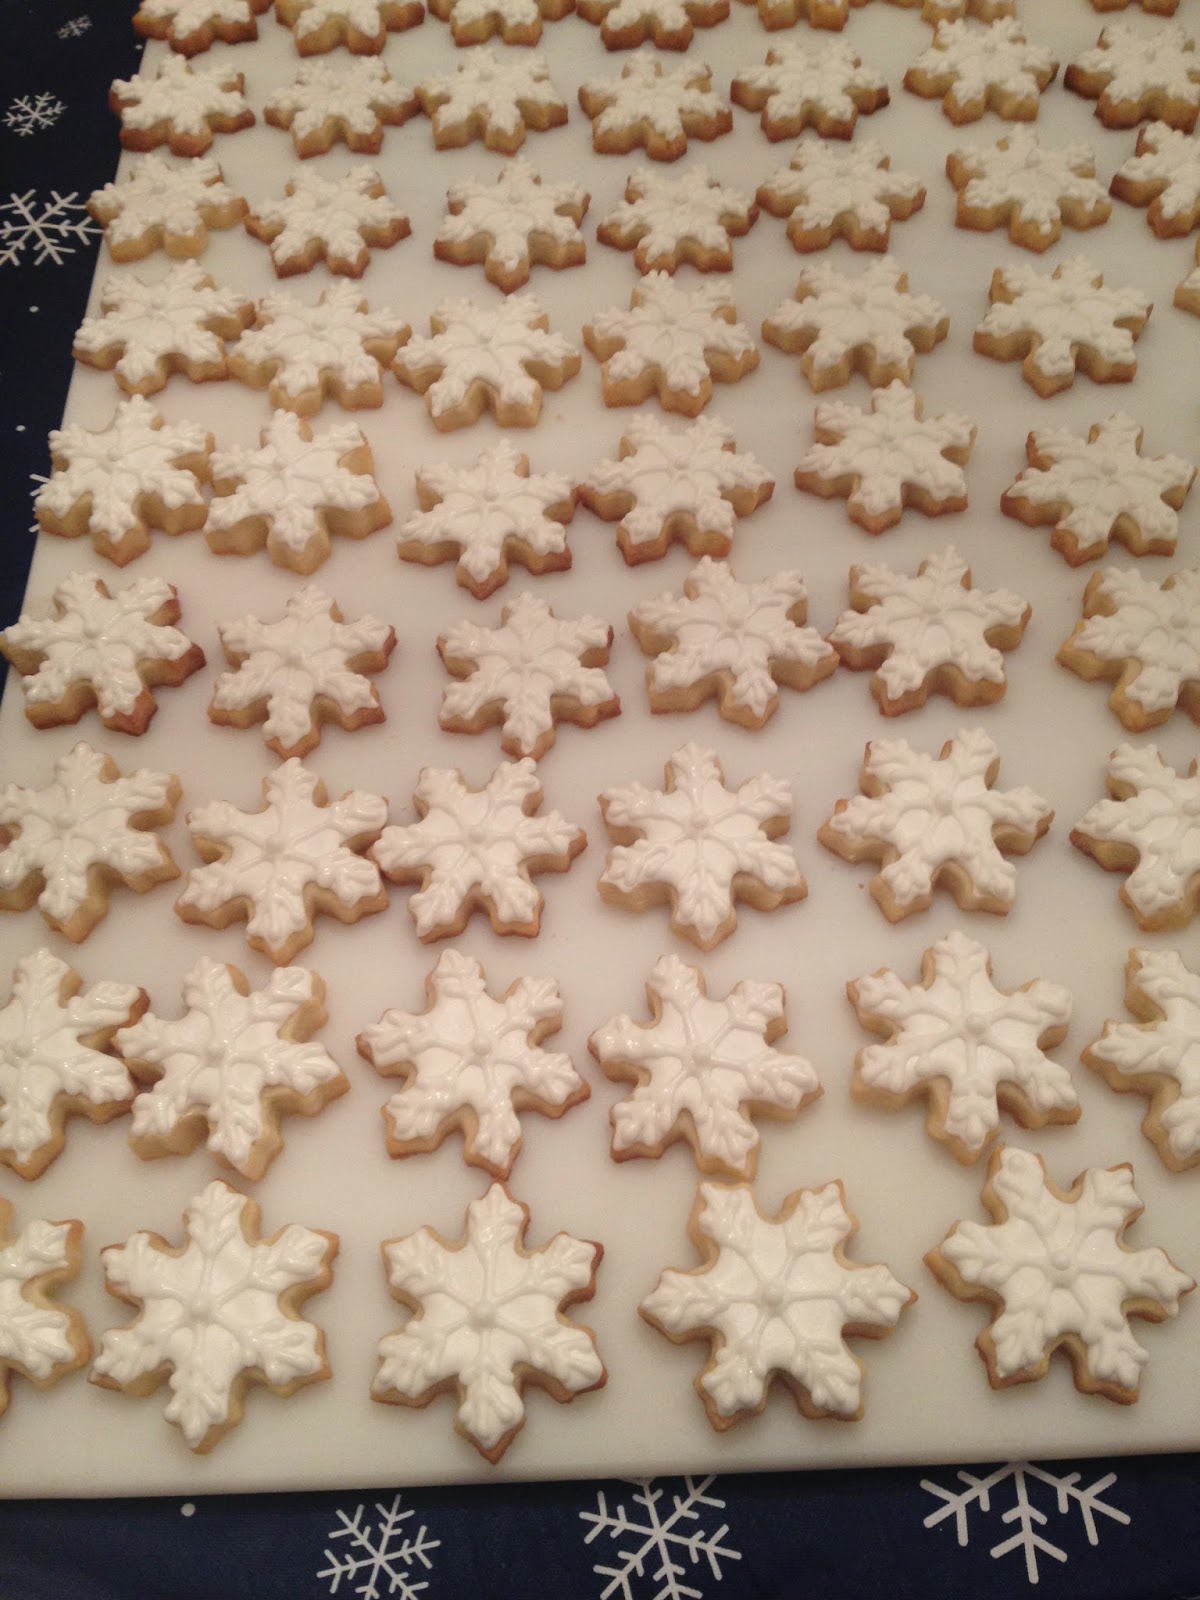
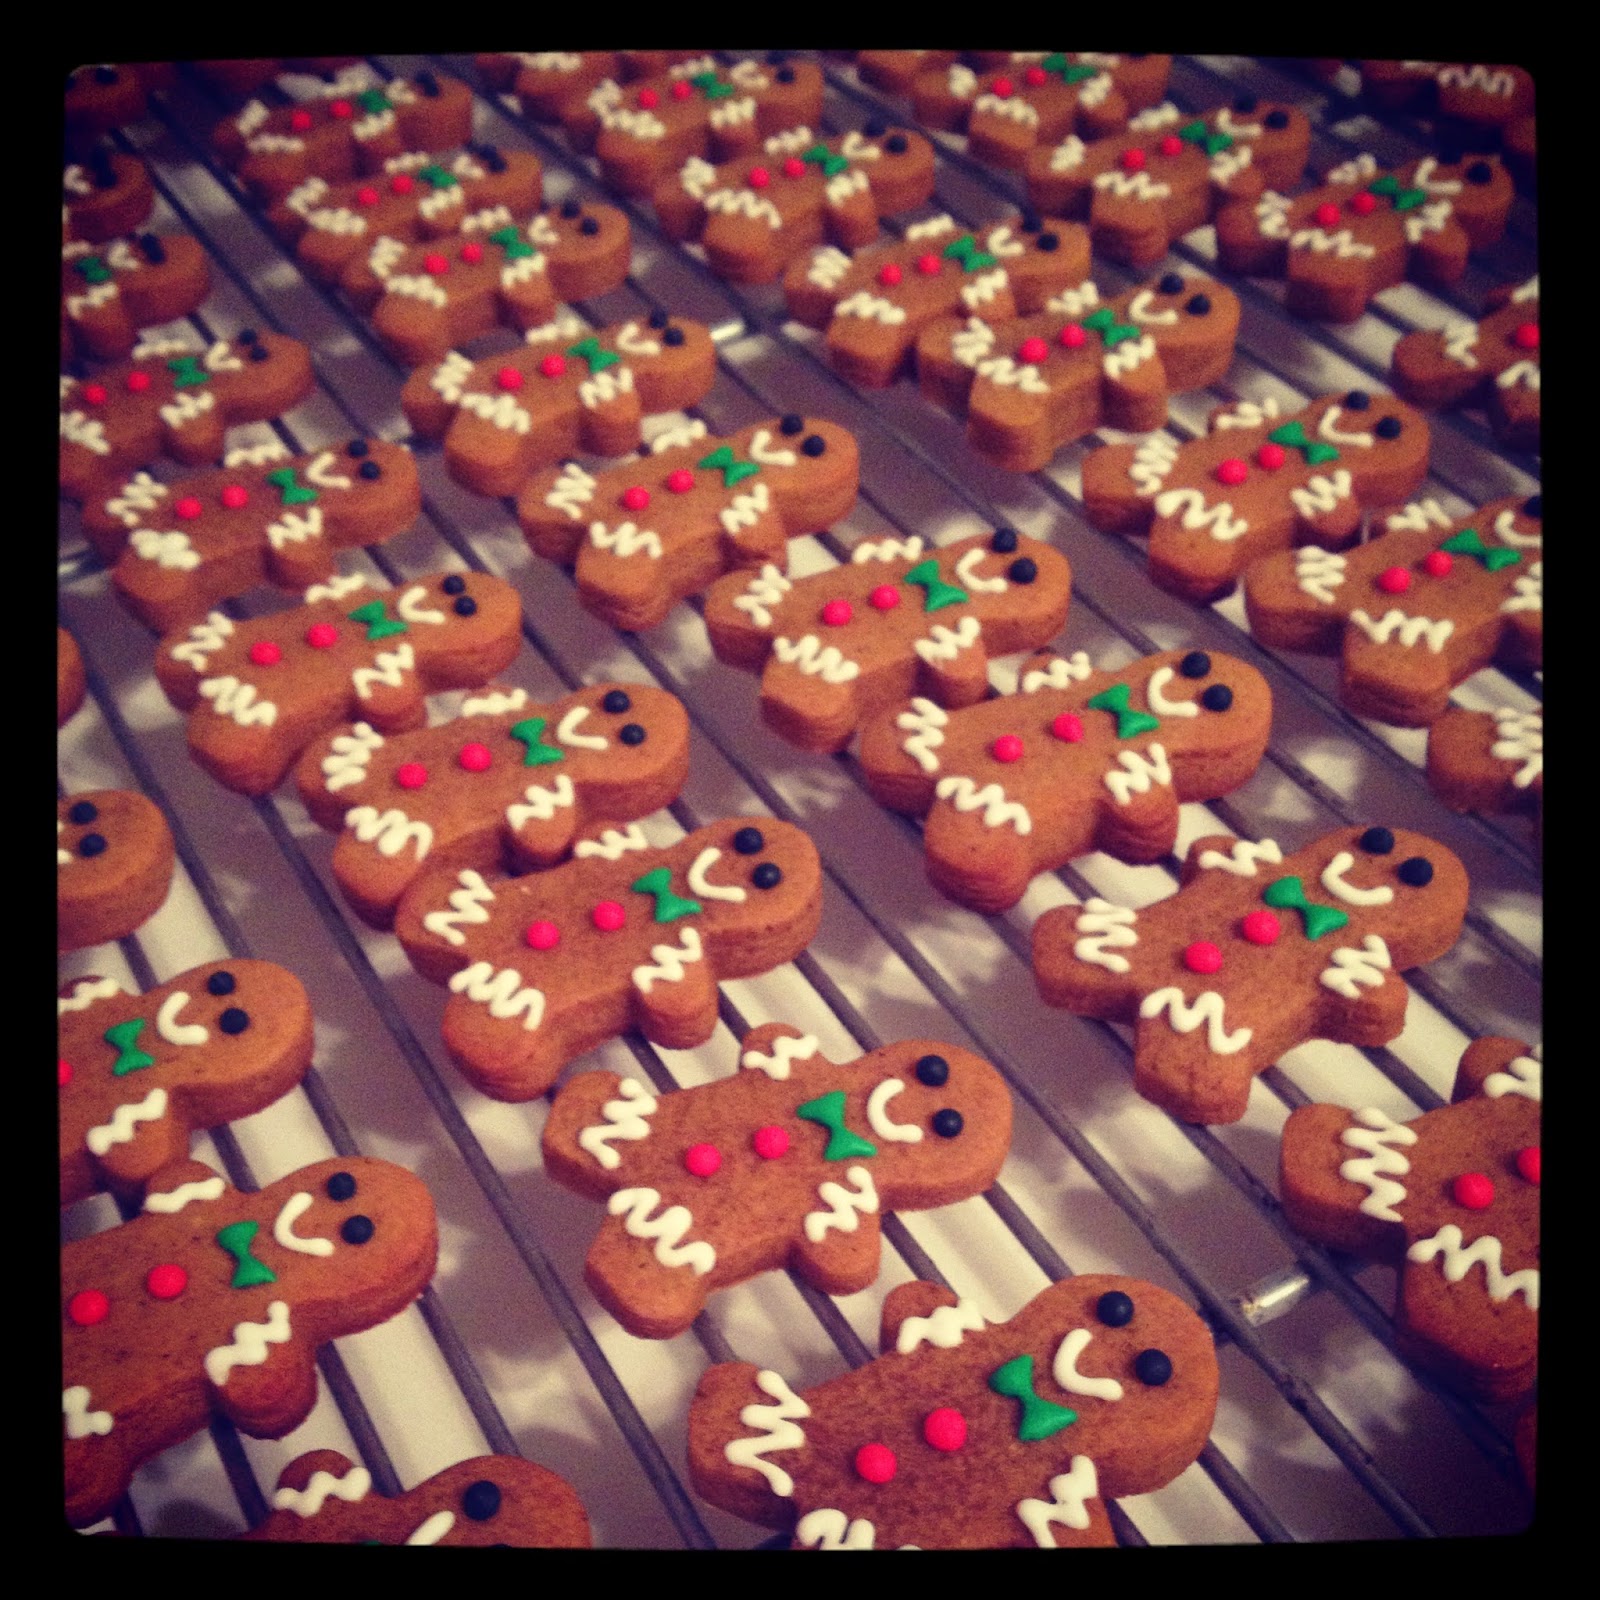
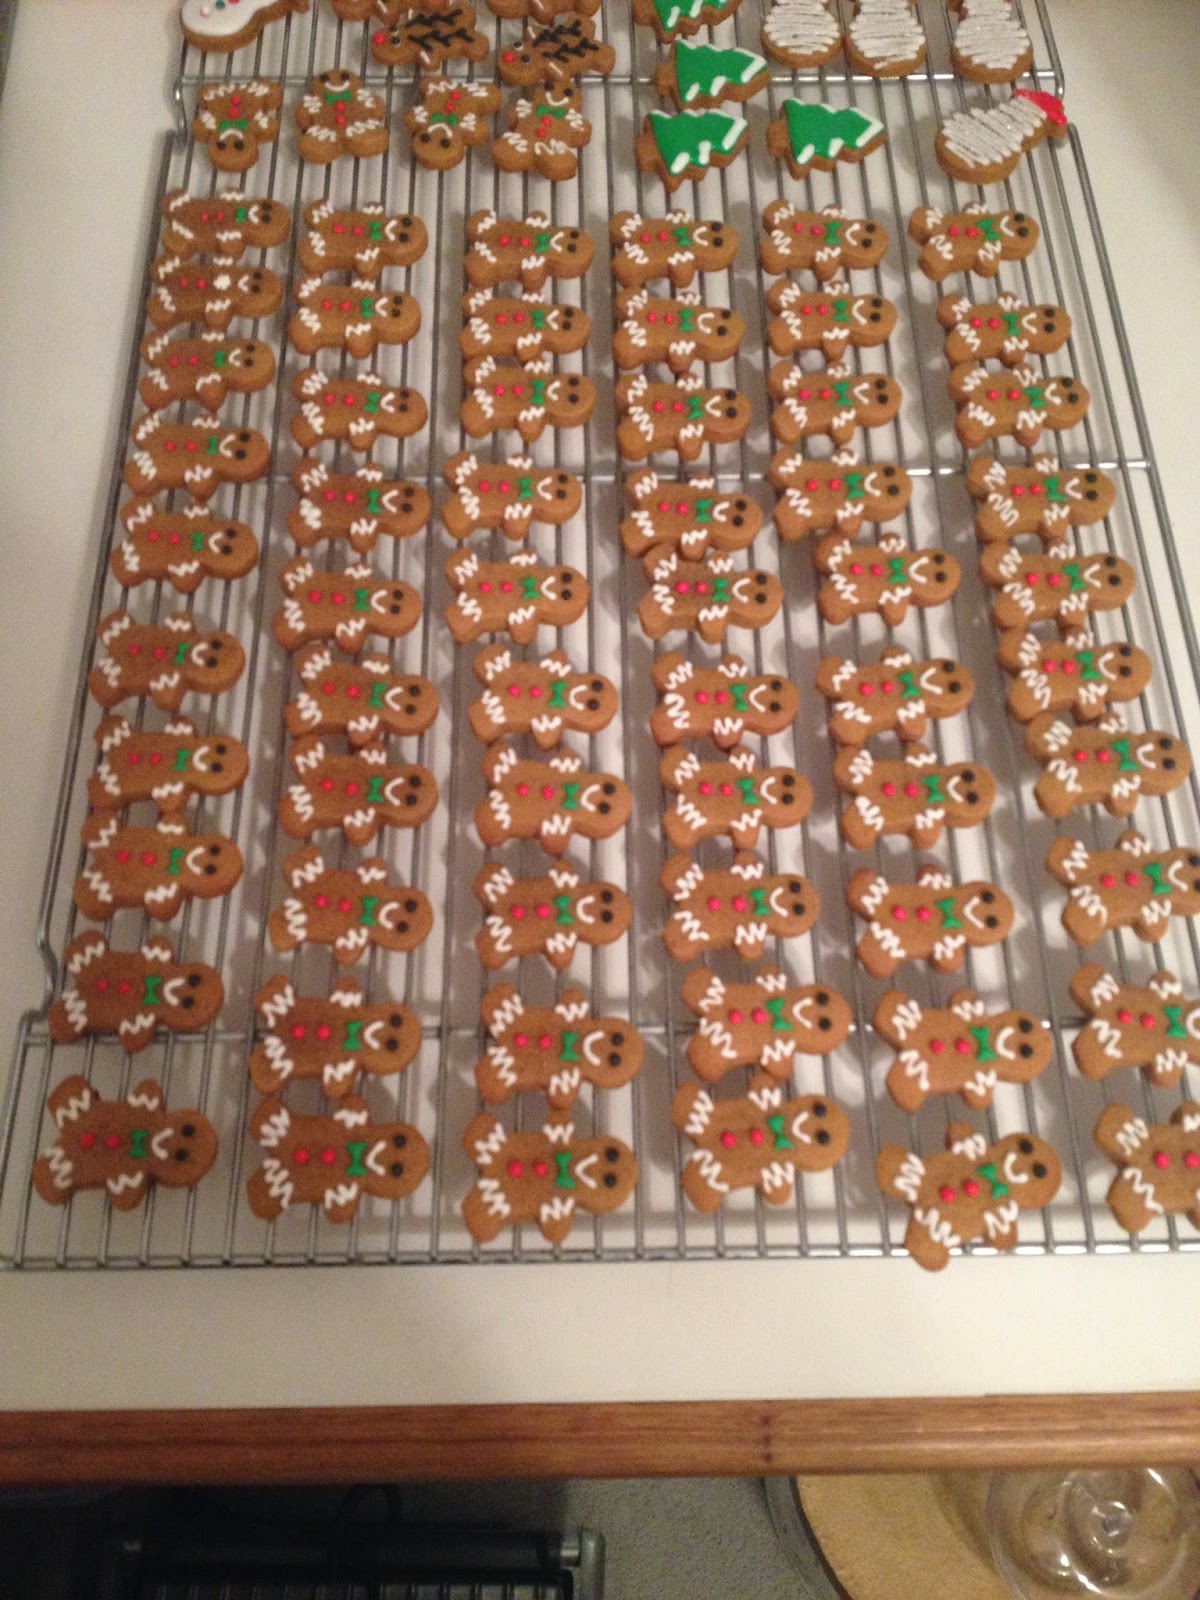
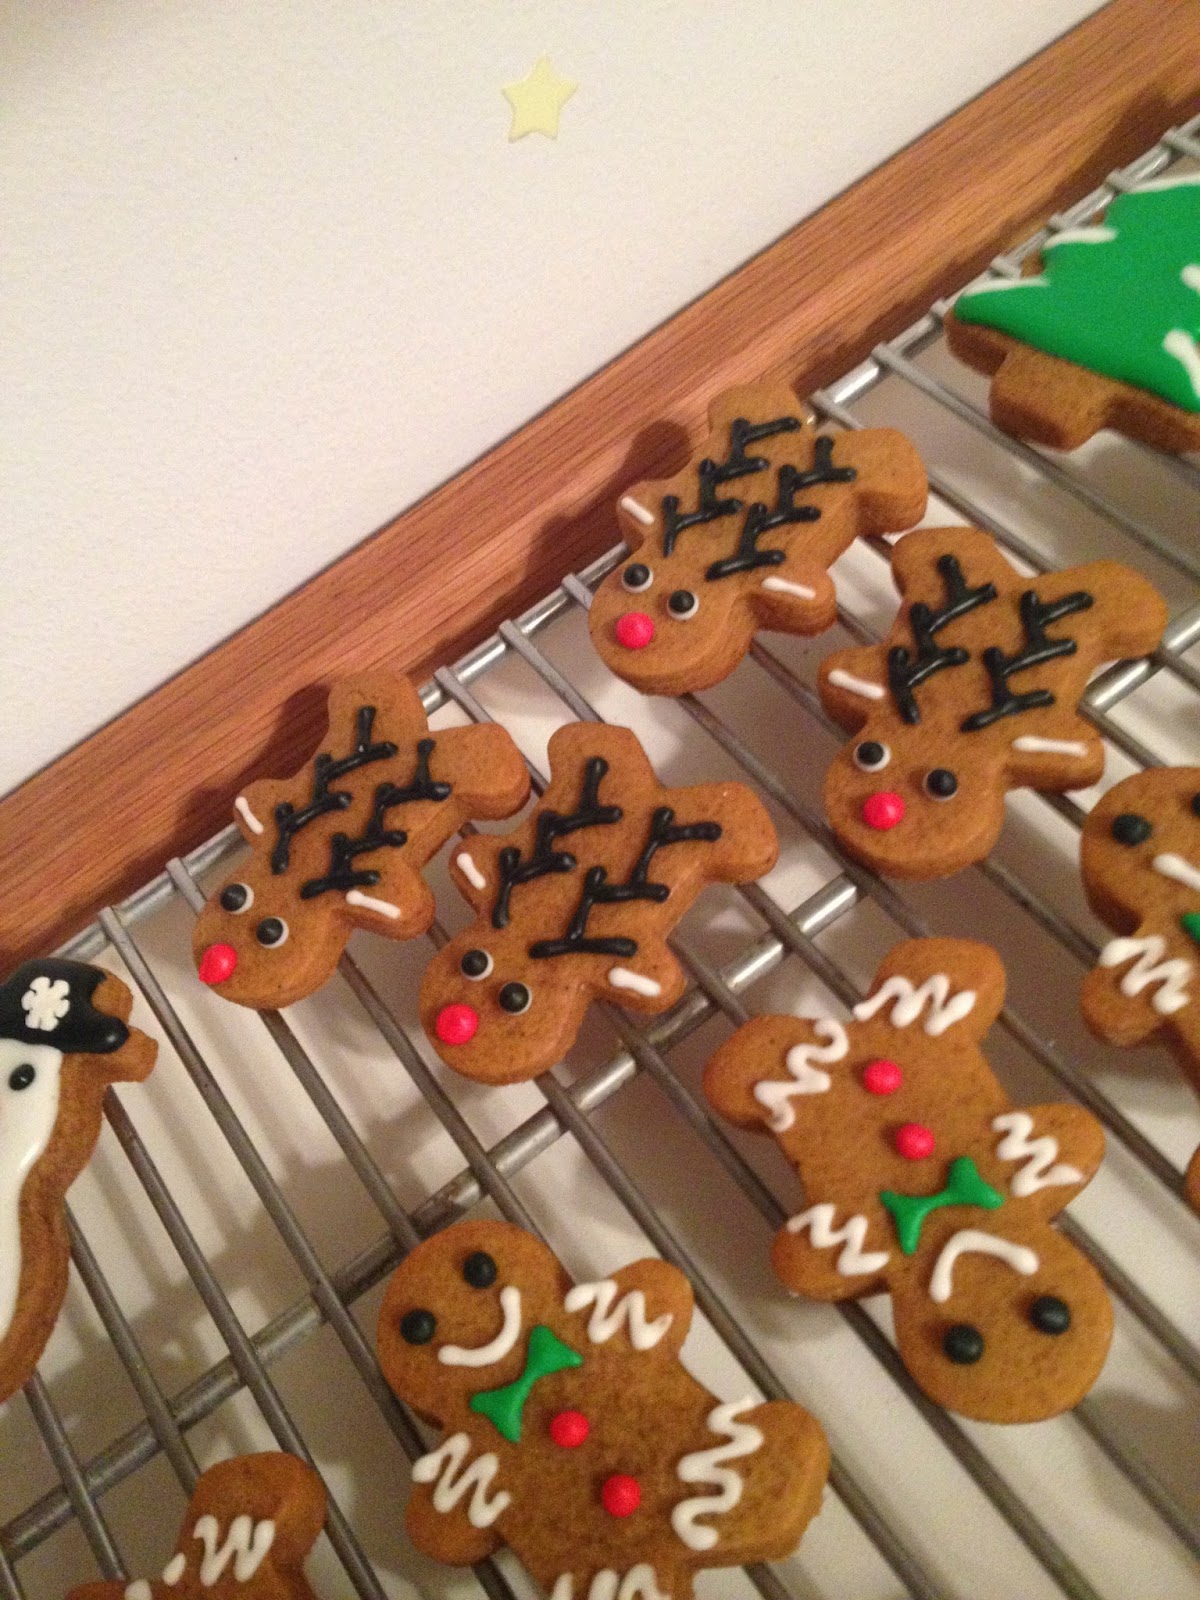
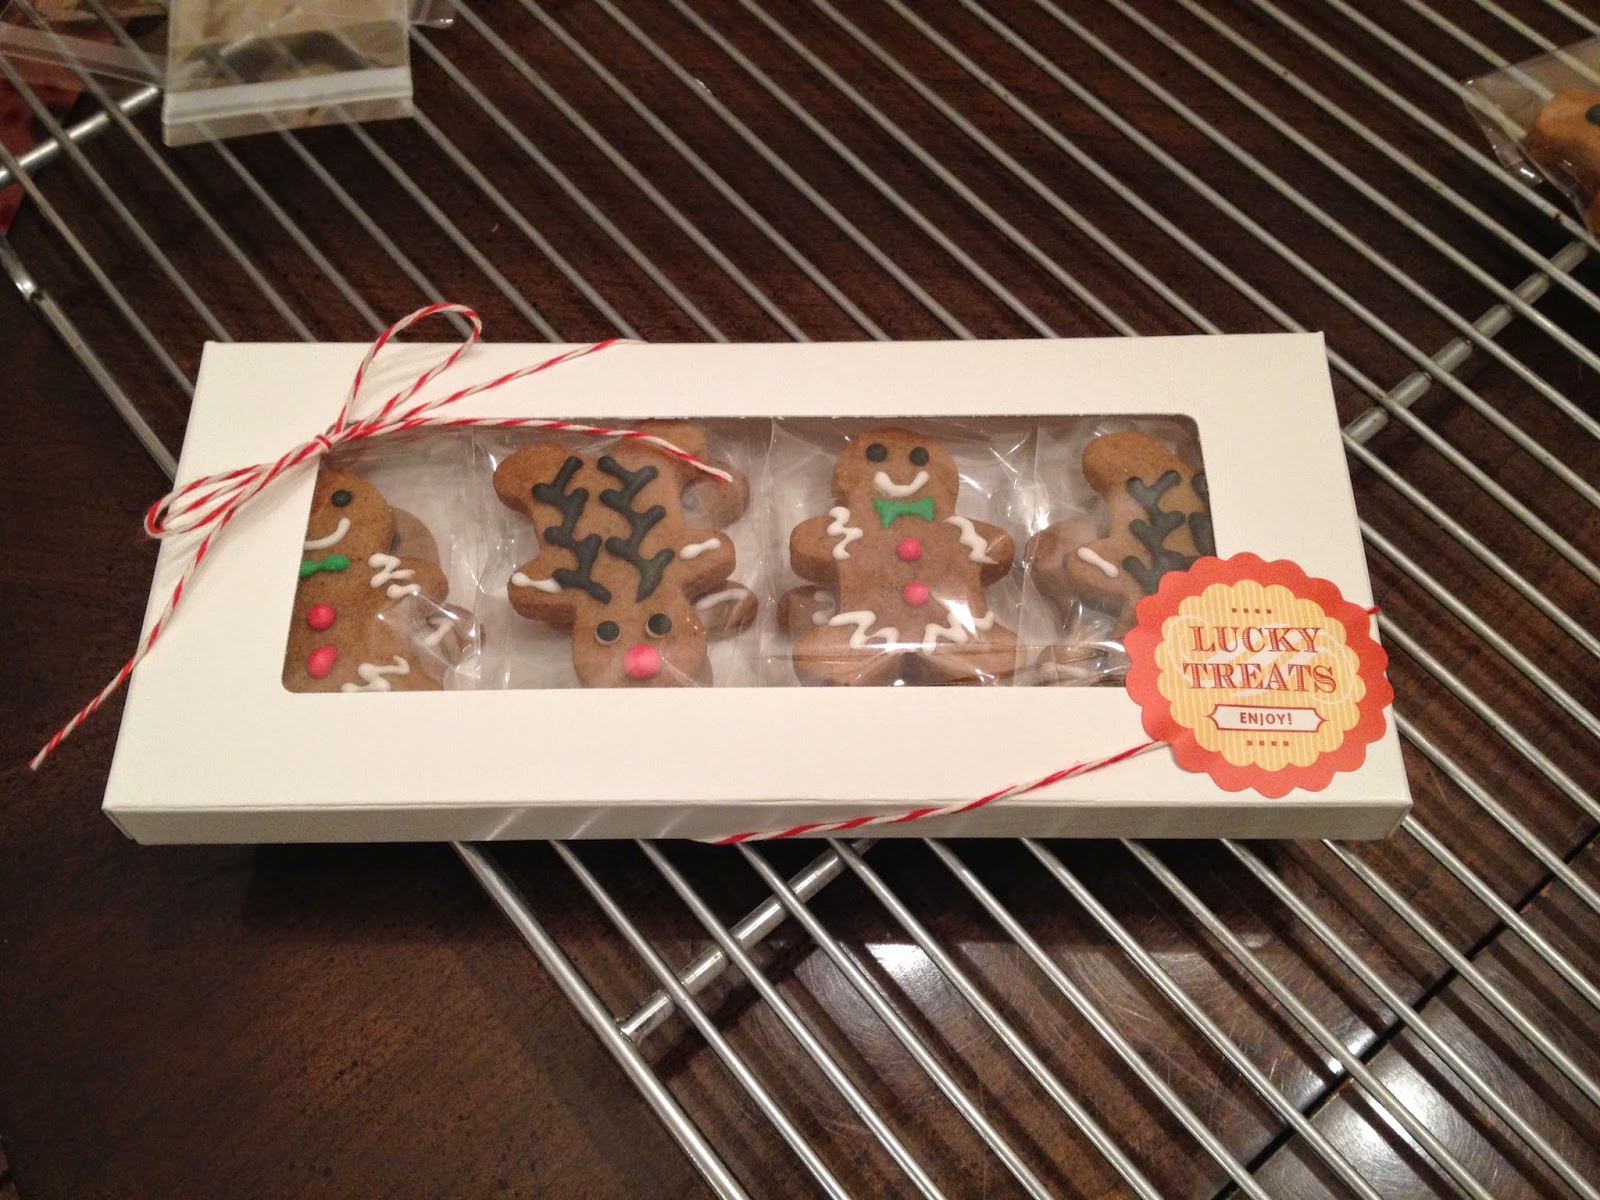
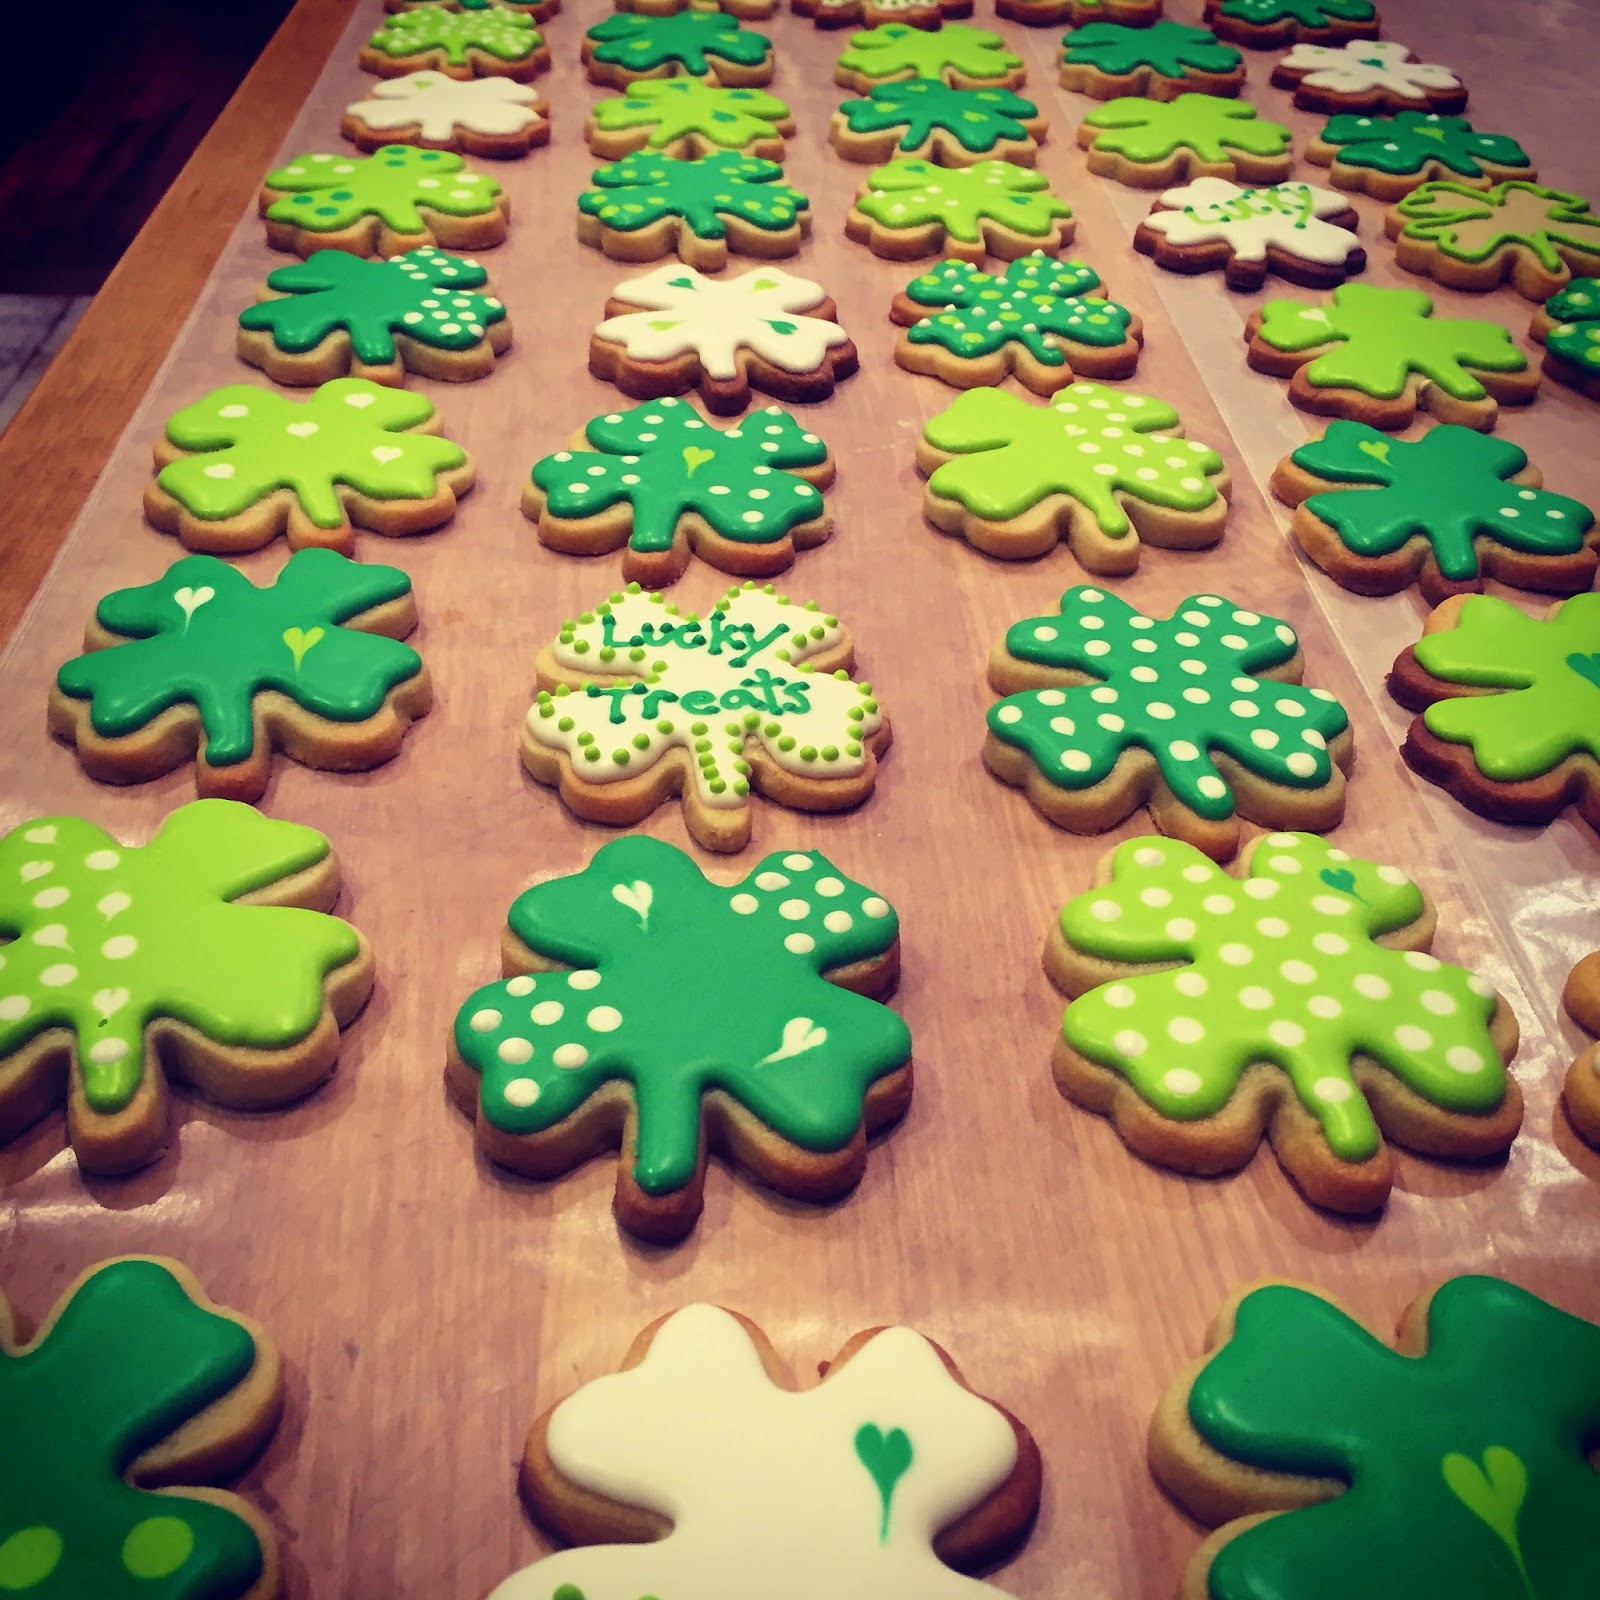
I made 2 batches of dough and ended up with about 52 cookies. While the cookies were cooling, I started making the icing. For some reason, not sure if it was the altitude, but I couldn't get the consistency quite right. It may have been me being a bit impatient, but I made it work.
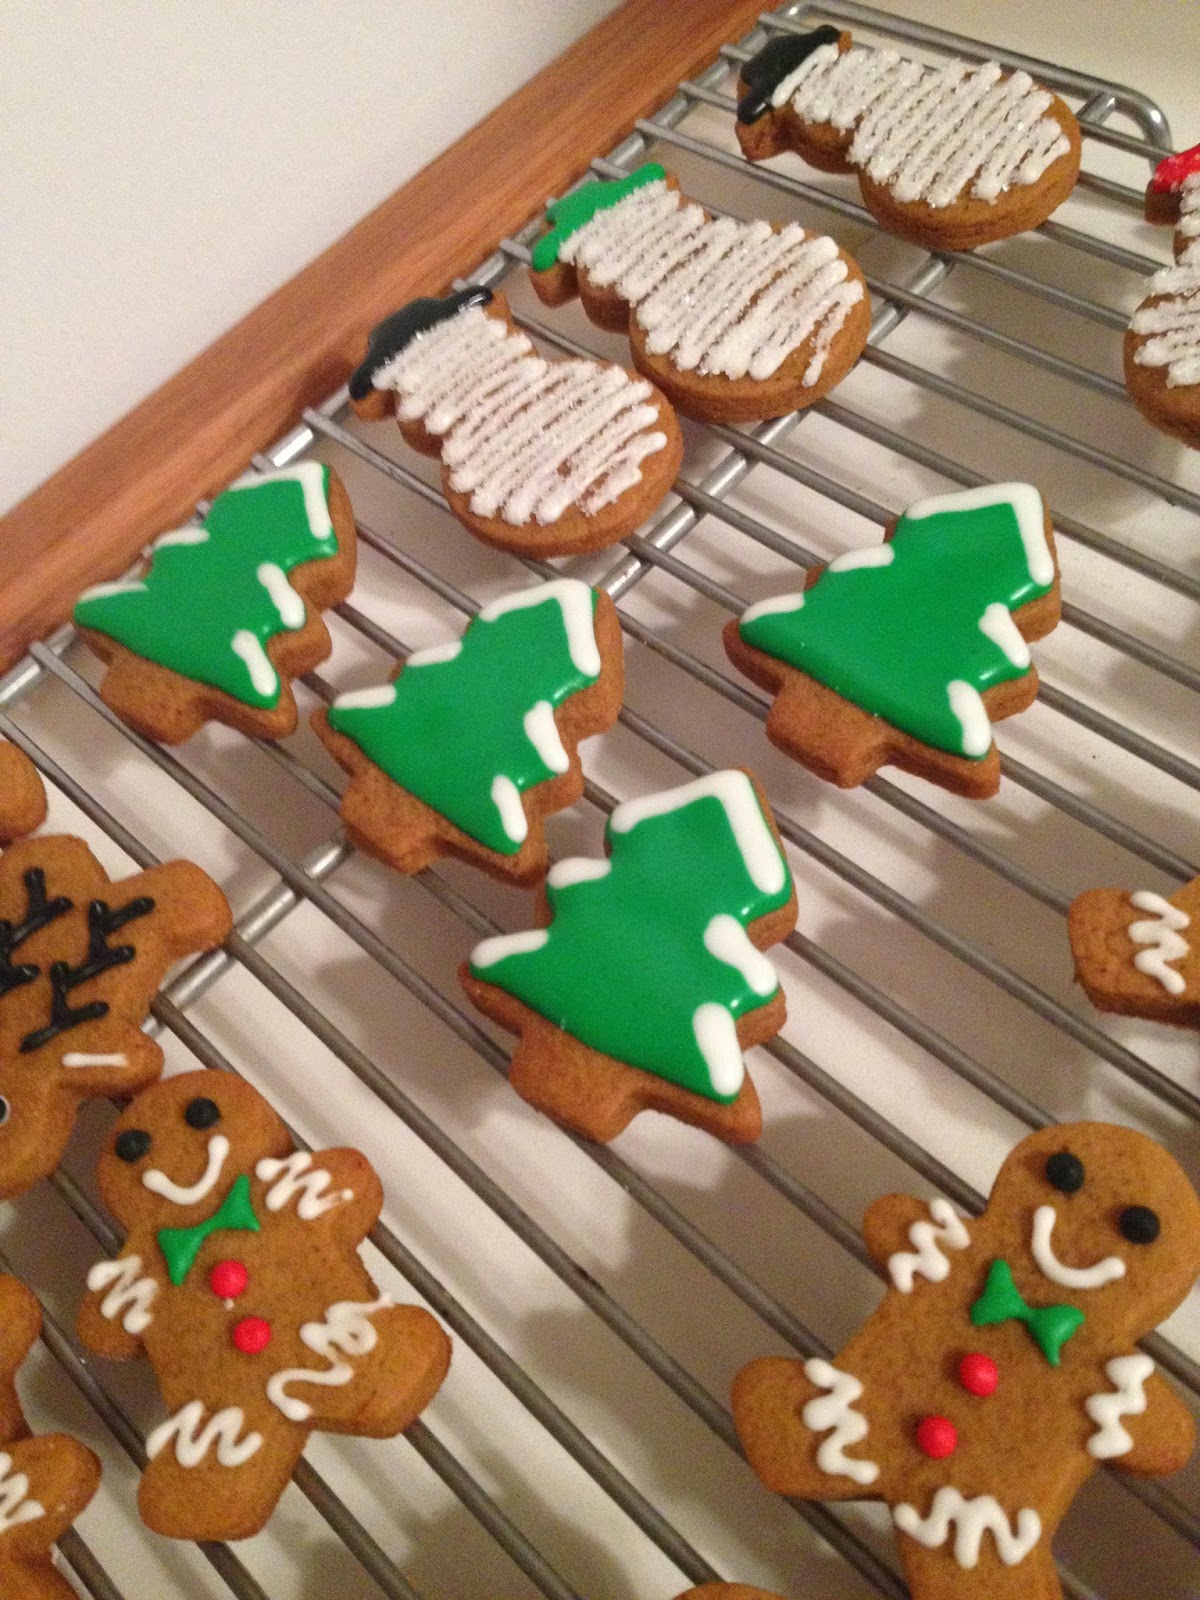
Since I didn't have a lot of time to complete so many cookies, I wanted to go a simple as possible, just using light and dark green as well as white.

 |
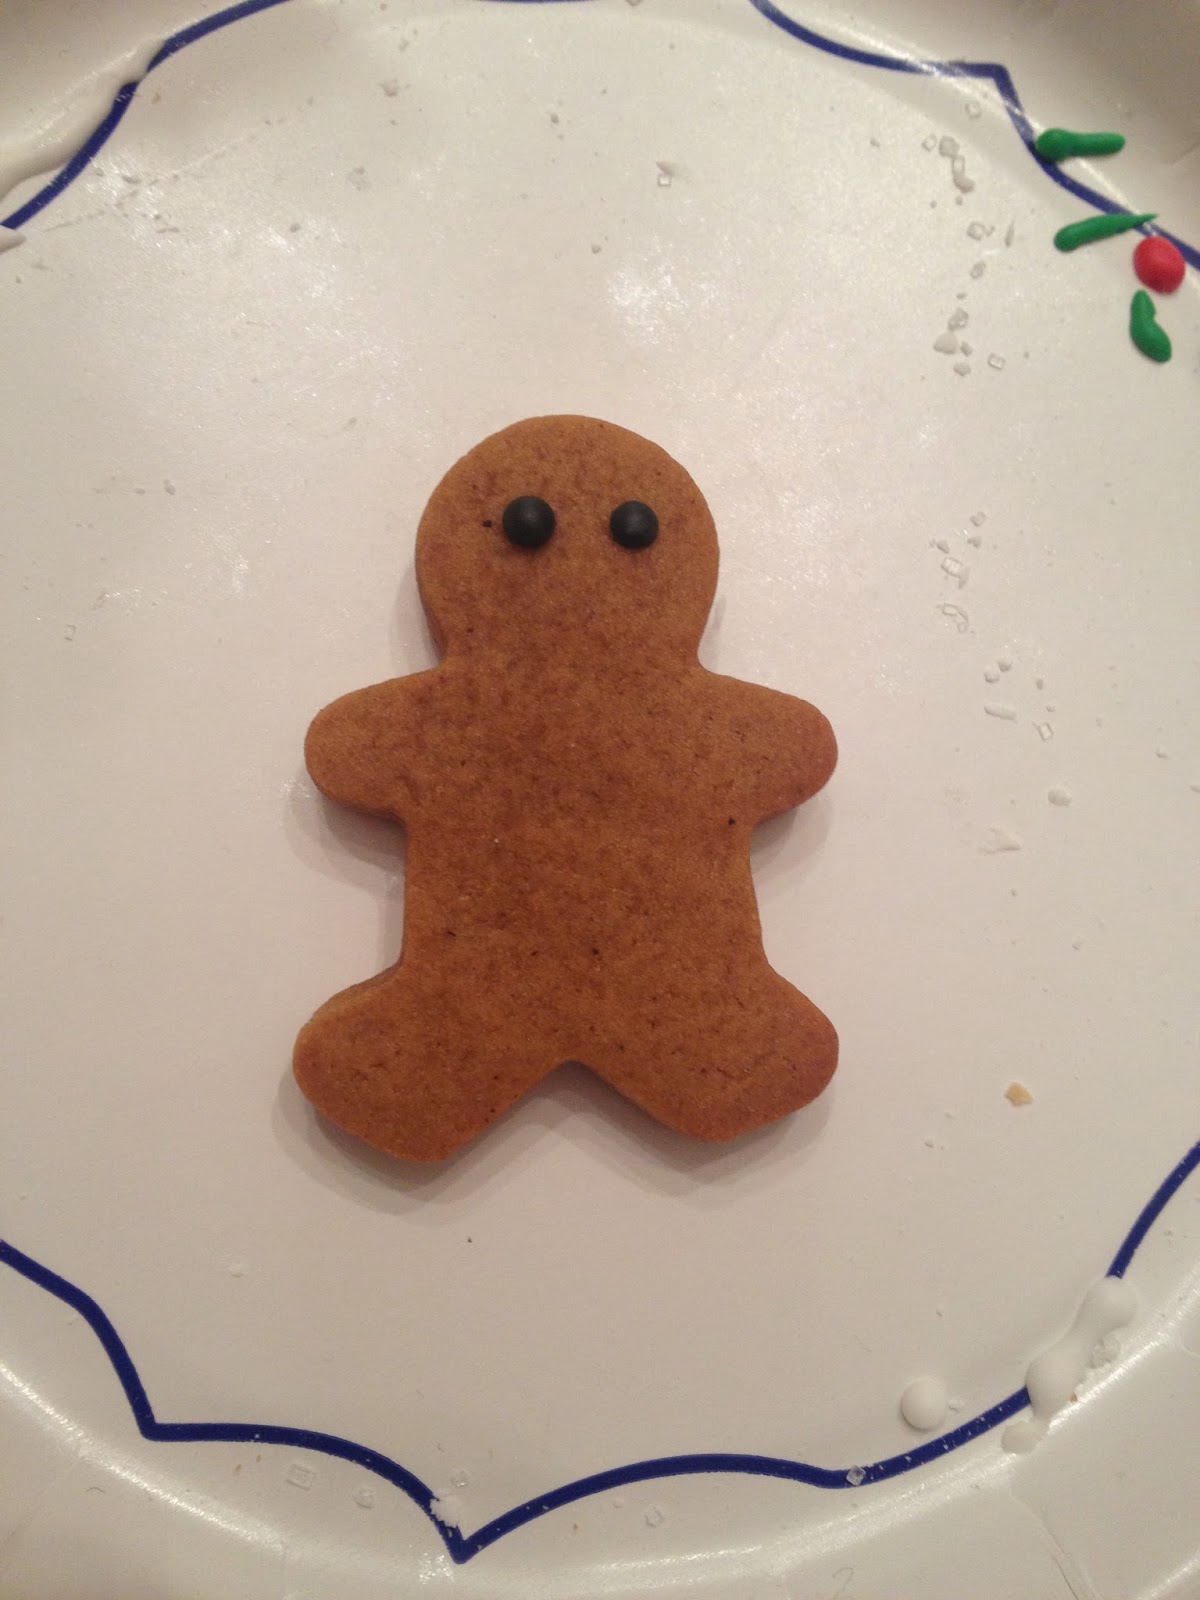
| Empty cookie. |
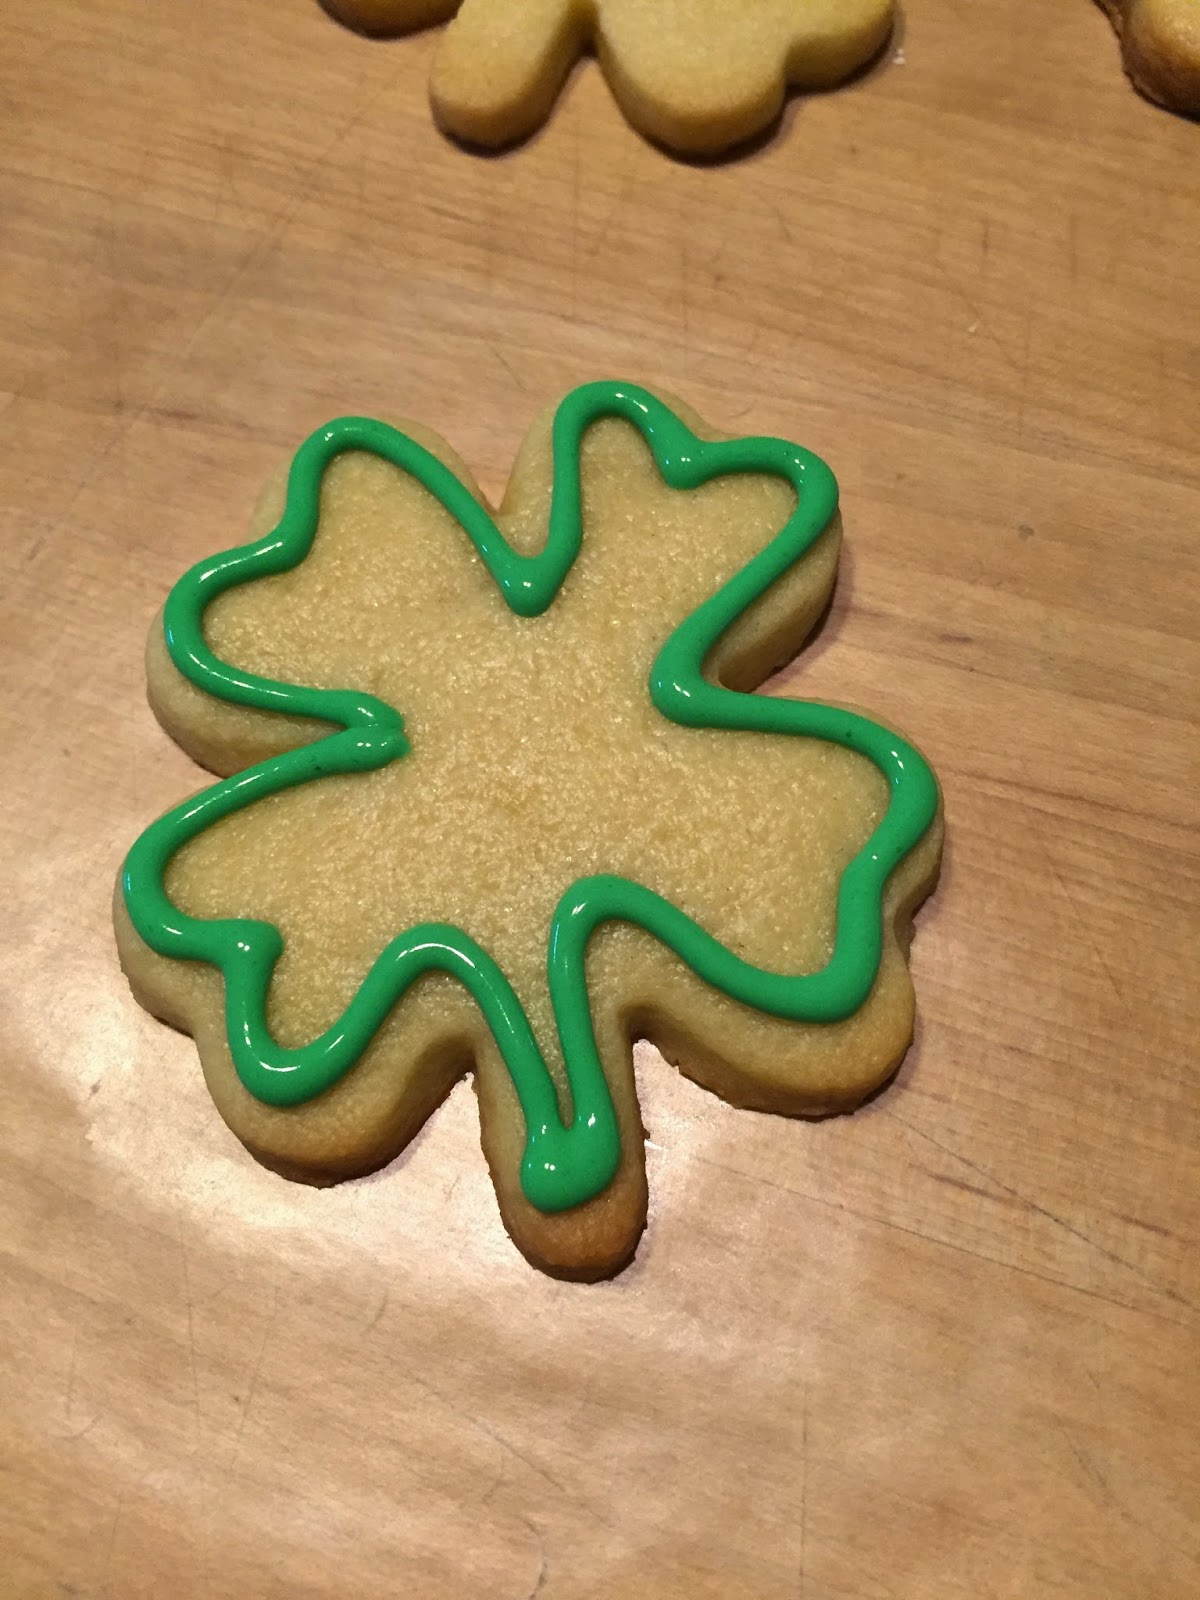 |
| Outlined cookie. |
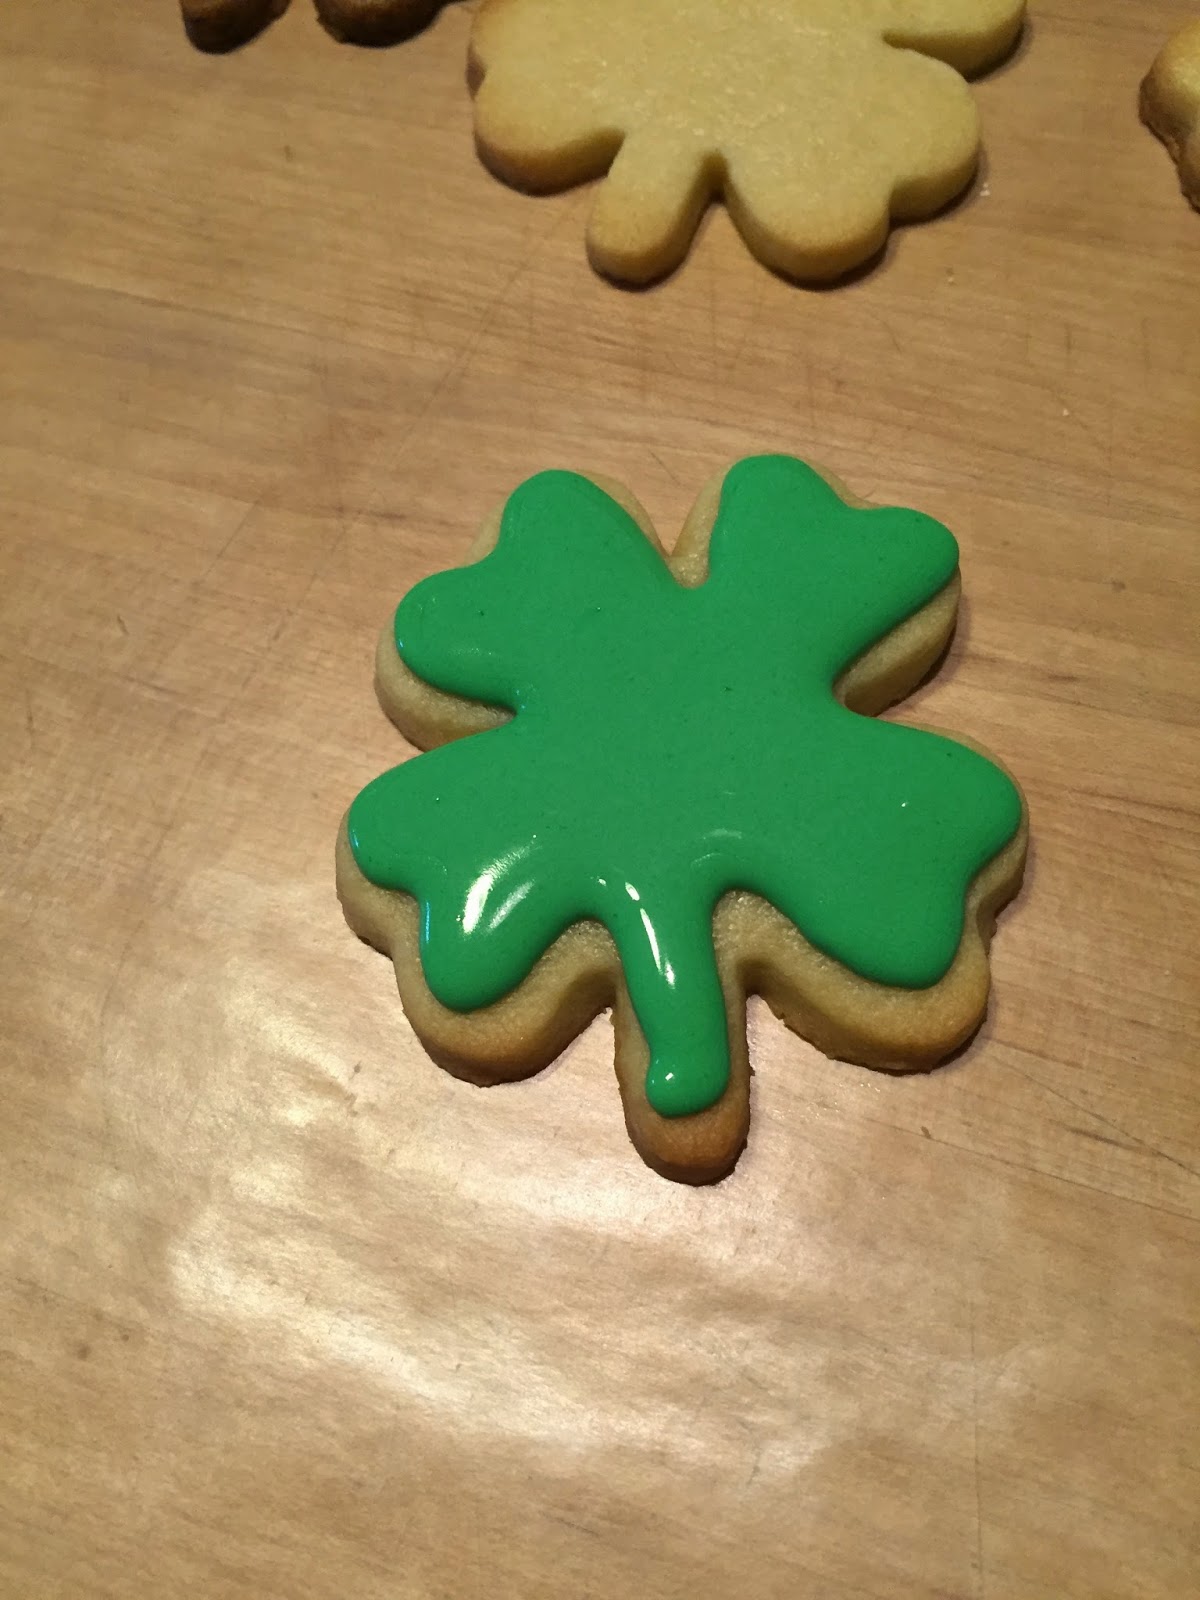 |
| Filled cookie. |
 |
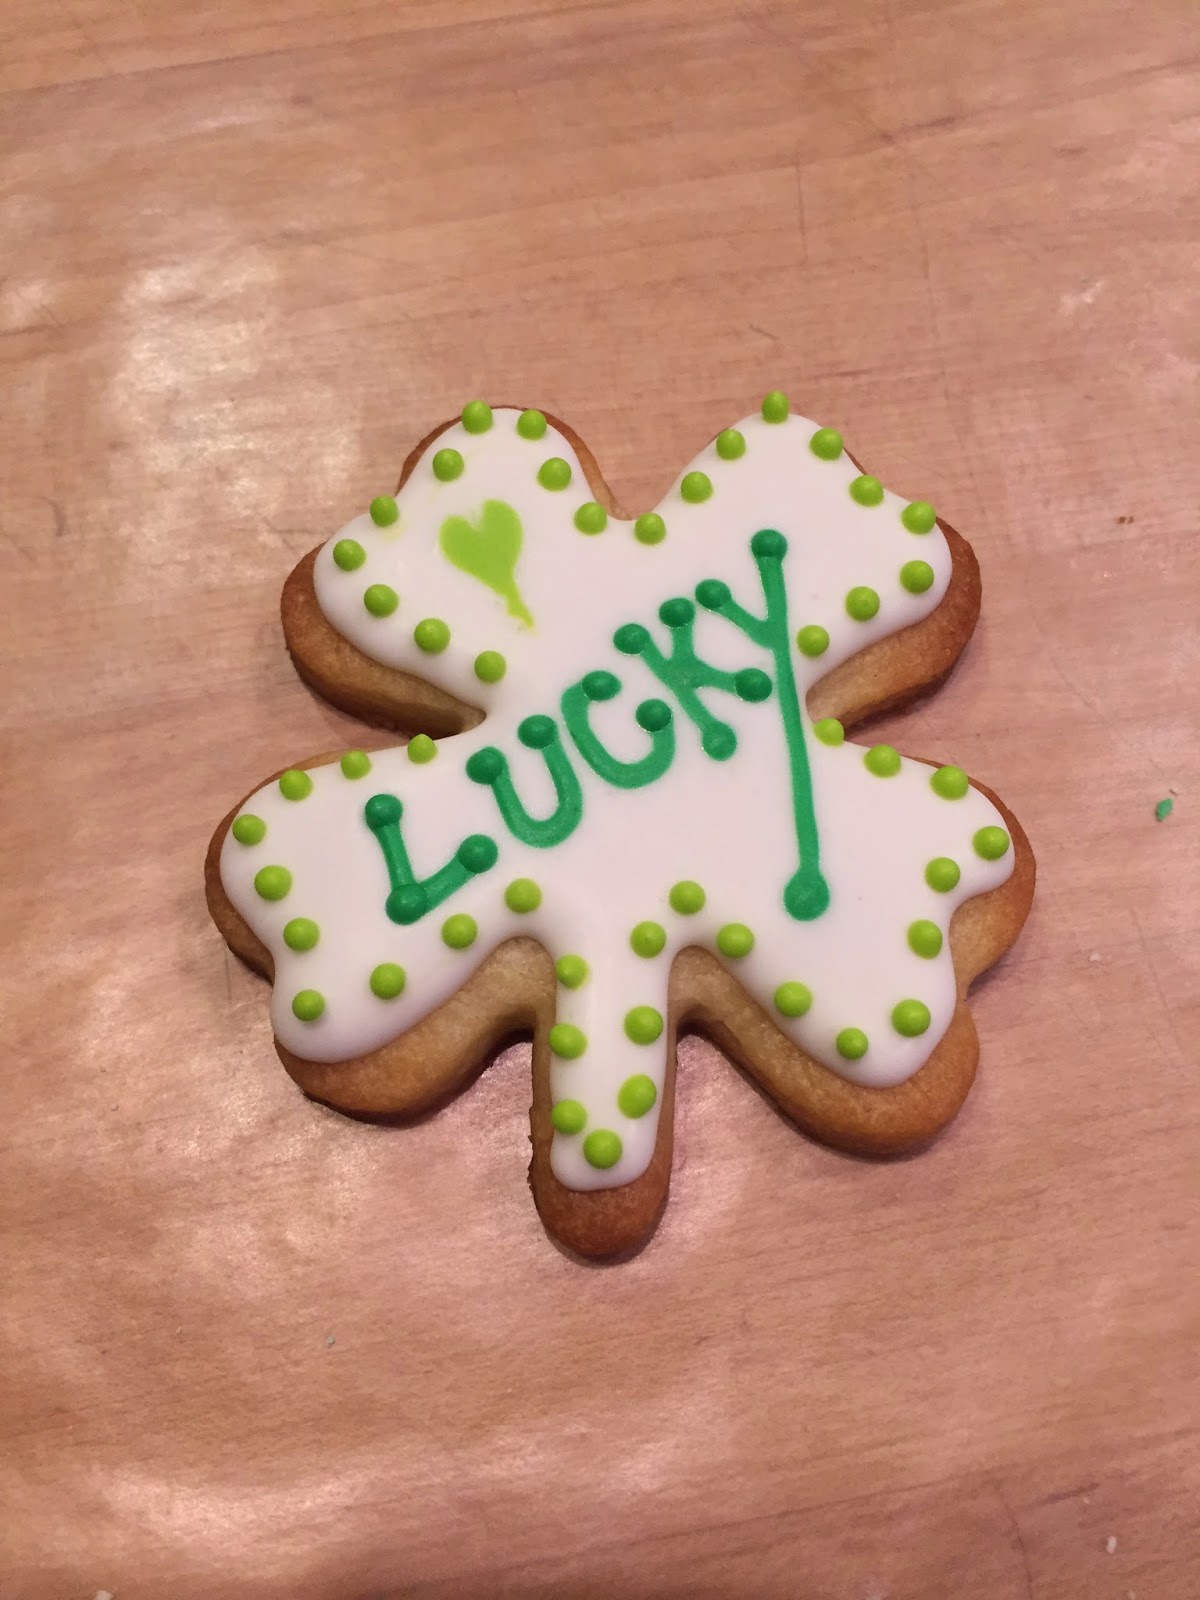
| I placed a white dot and a light green dot on the cookie and used a toothpick to make a heart. |

I just kept decorating until they were all completed. It was a long day, and a long process but always an enjoyable one. I literally just listened to music, drank wine and decorated cookies. It was a good Saturday night.


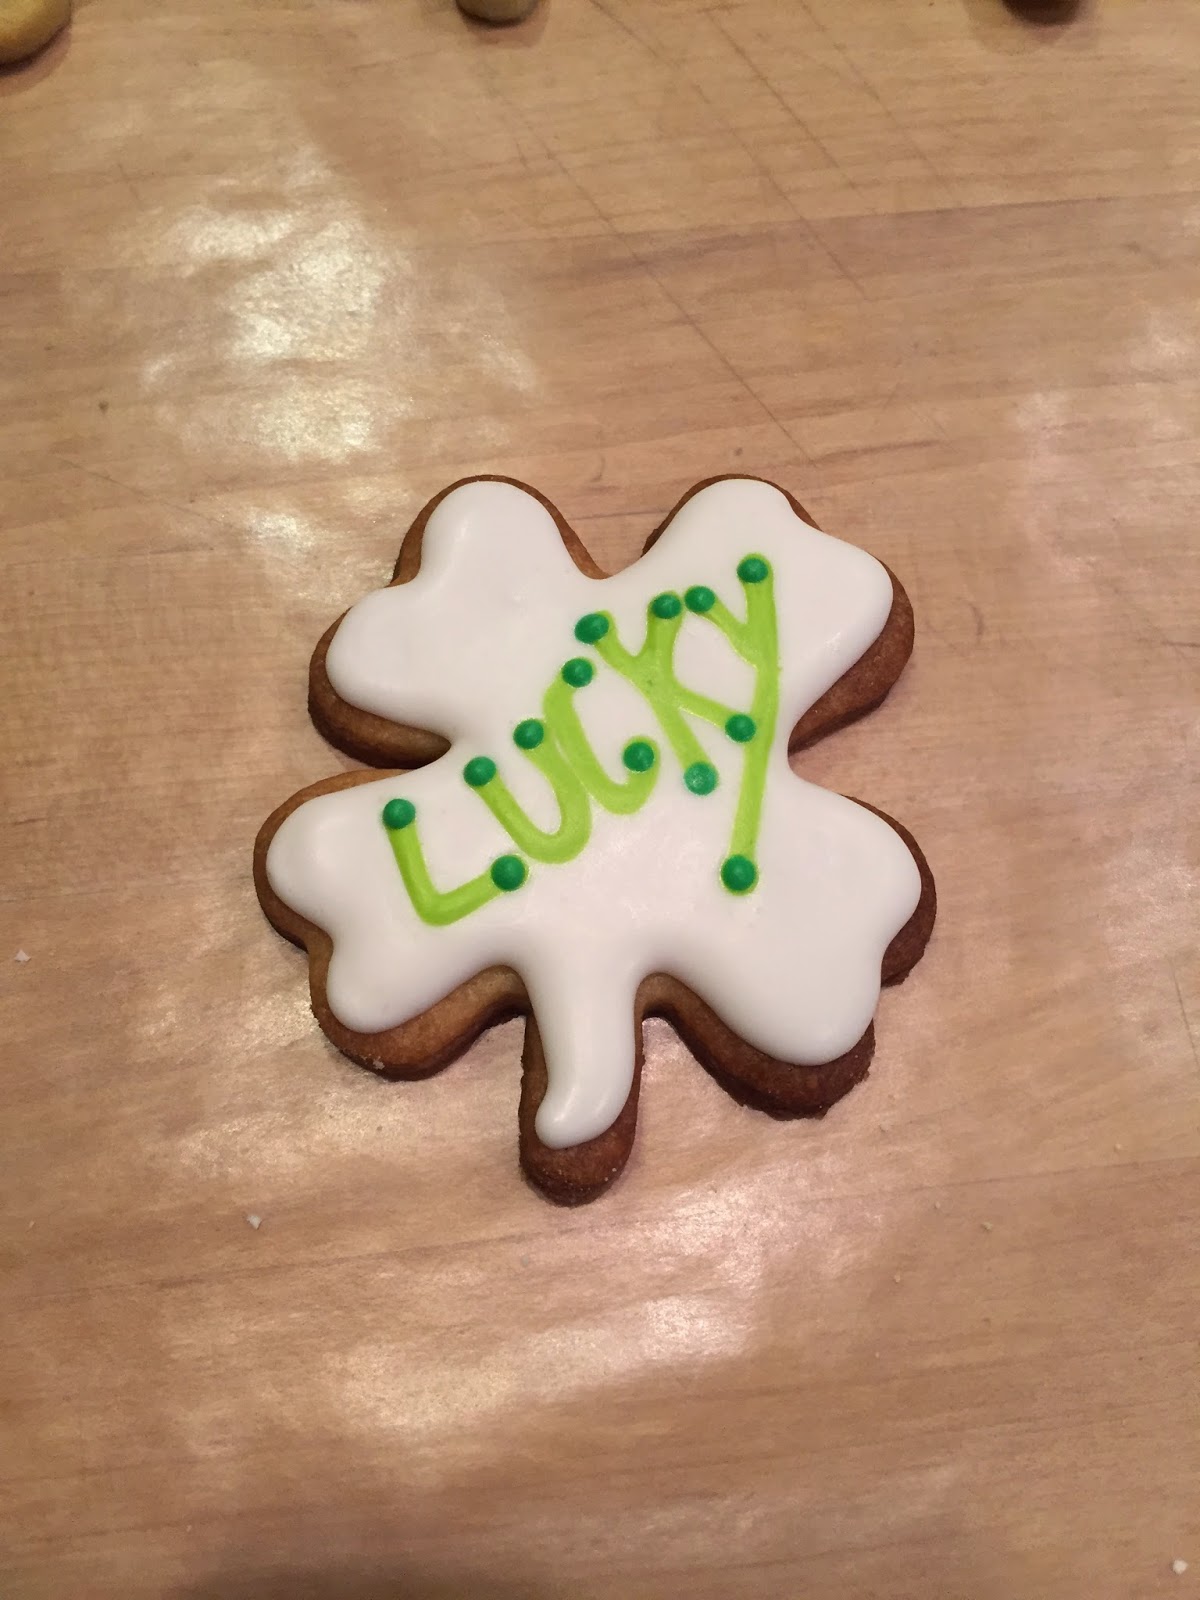

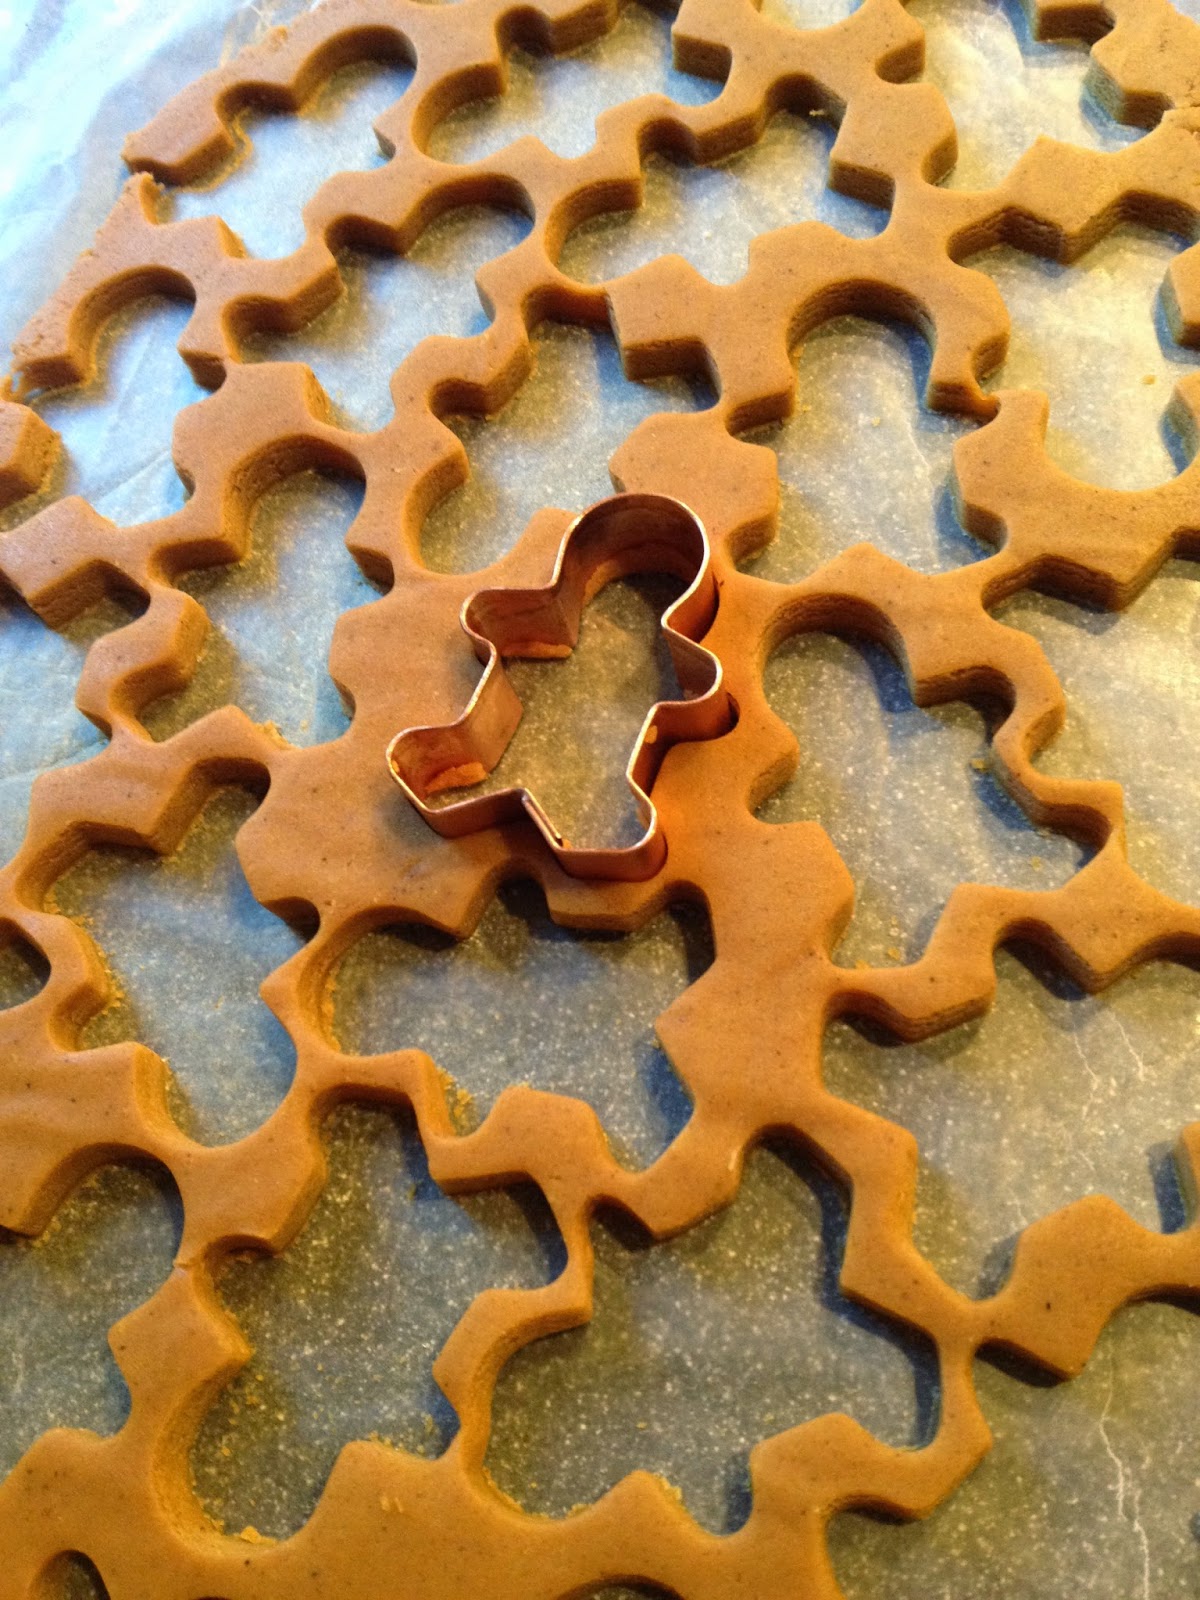
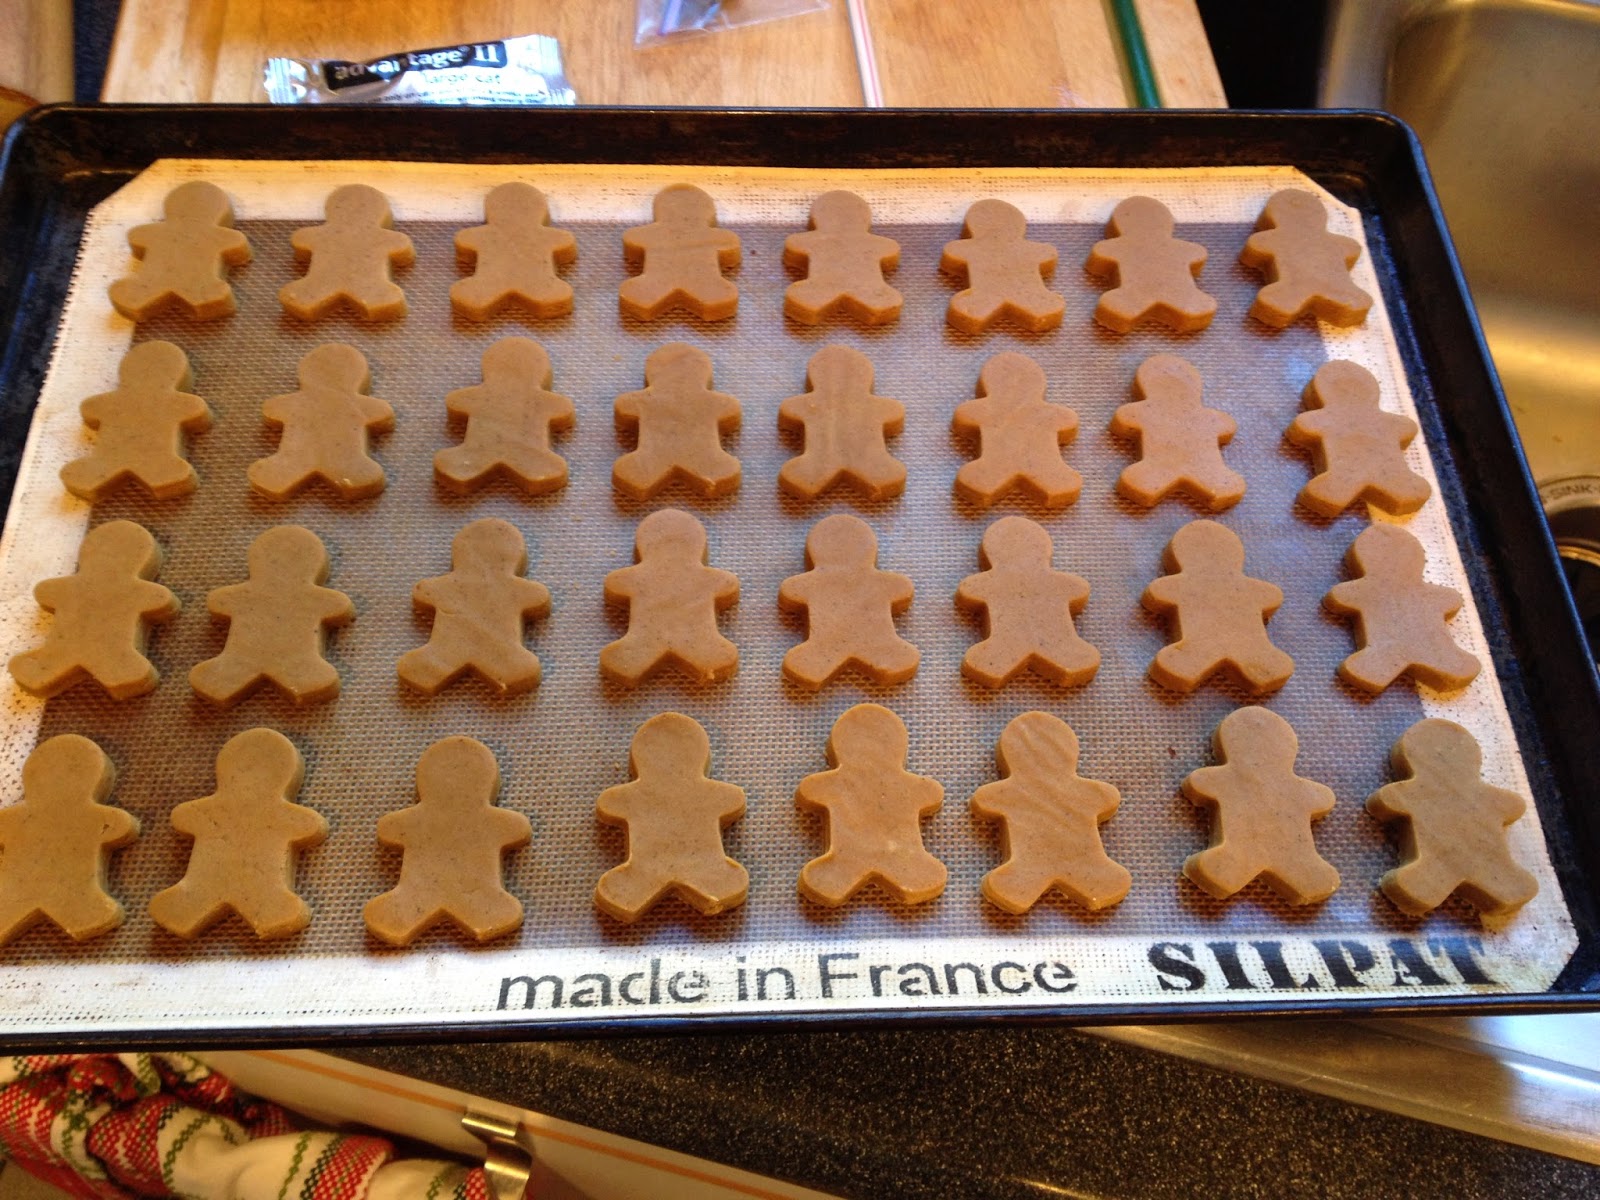
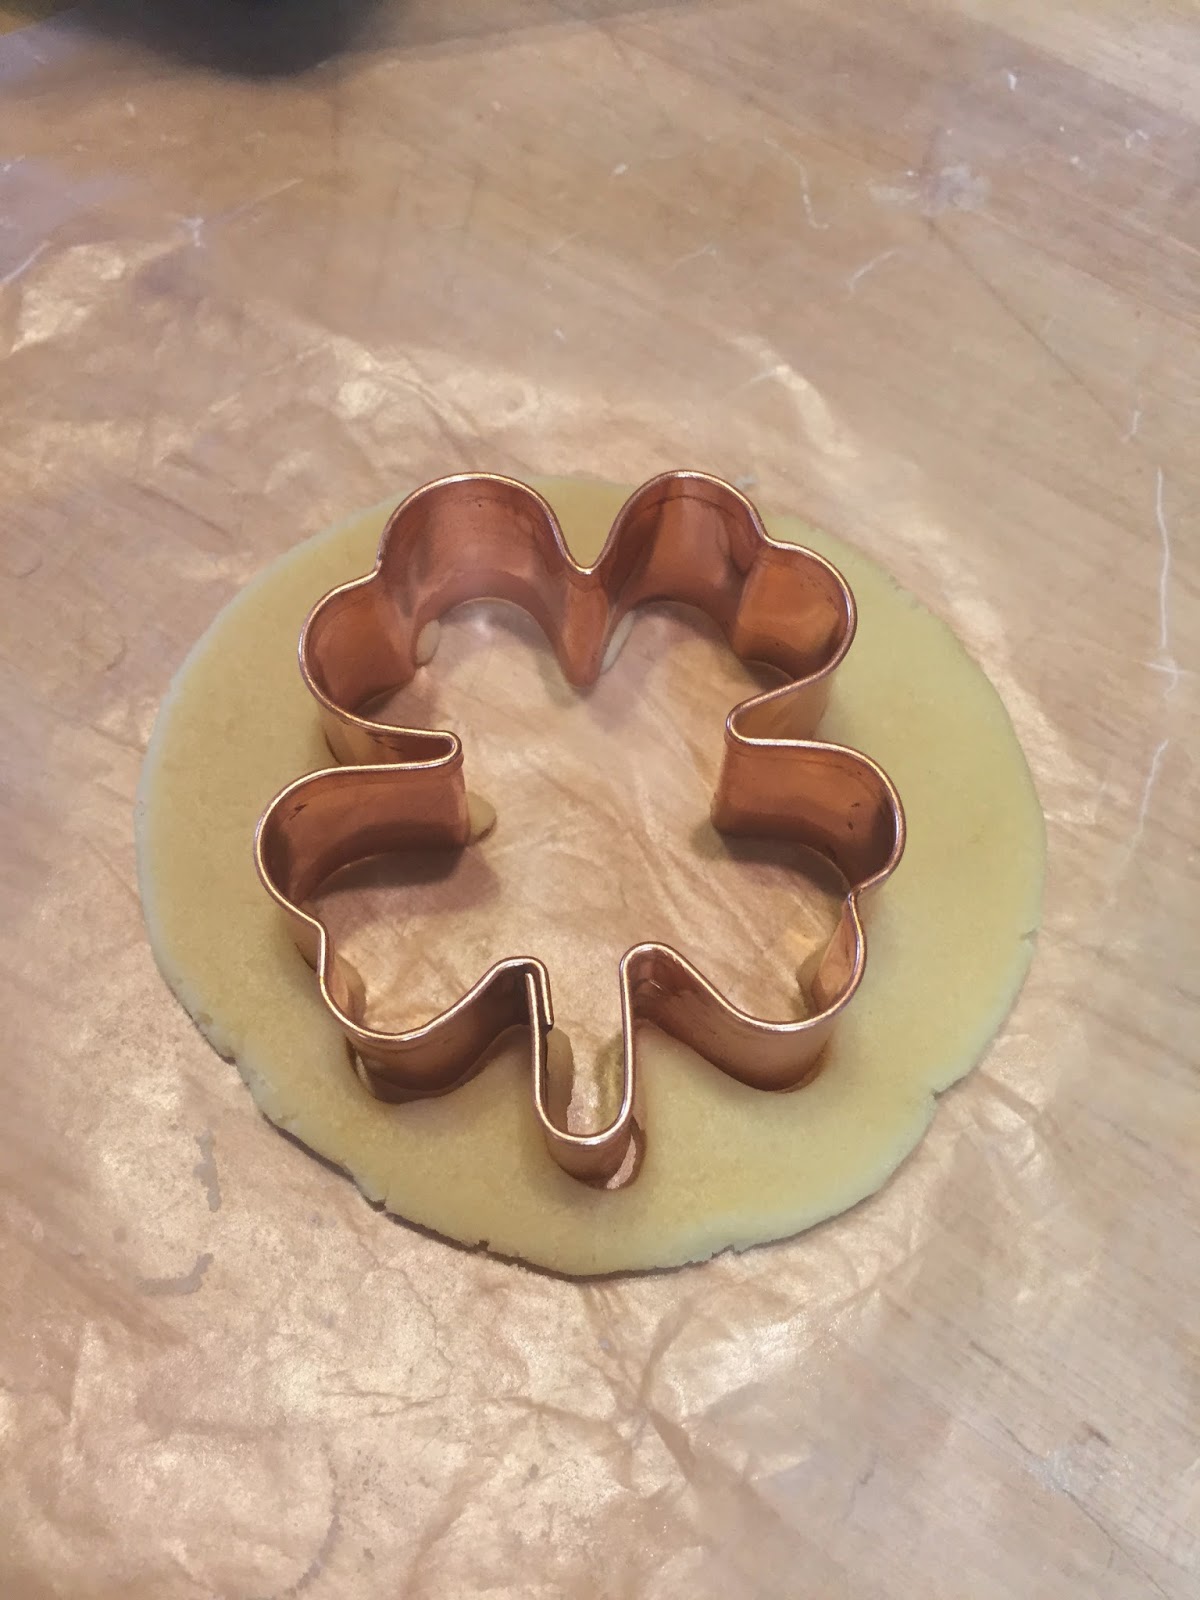
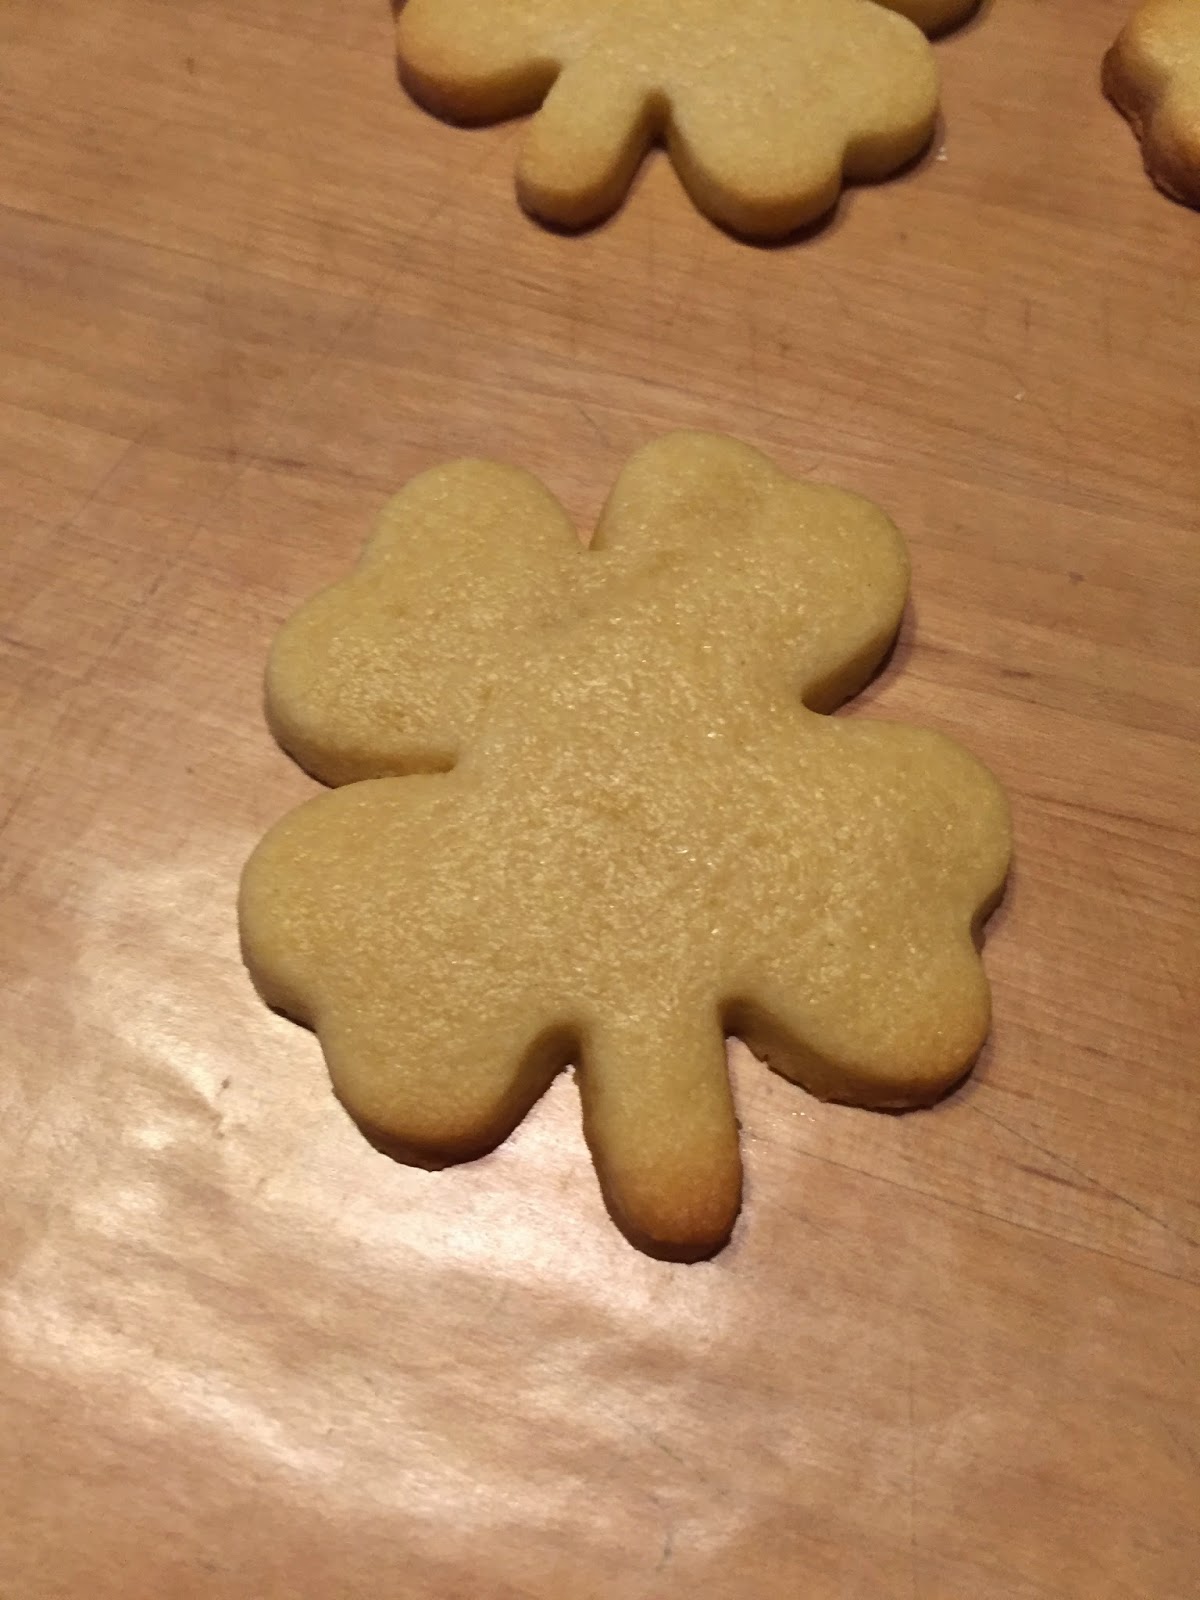
The following week, my boss really wanted gingerbread cookies. Now, it obviously isn't the season for that, but I said I would make a batch if they didn't need icing and they could be clovers. Well here is the result of that Friday night! Another bottle of wine and a whole bunch of cookies.


Very strange combo, but still soft, chewy and delicious!
Happy Baking!!