Saturday, April 12, 2014

Bunny Lovin

Well Spring is here and Easter is fast approaching!

I was asked to make just a few cookies for some Easter baskets.  I wanted to keep the design simple, since I knew I wouldn't have a lot of time to devote to the decorating. 

Anytime I make Easter cookies, you can bet your bottom dollar some of them will be Rabbits, if not all of them.  I am a big fan of the bunny rabbit, so anytime I can incorporate them into something I will.

I decided to go classic Easter with just bunnies and carrots.  I started off by baking the delicious treats.

Ta Da!
Once they were cooled and ready to decorate.  I decided on a few pastel colors that would be perfect for Easter.

Pastel Royal Icing
Now the decorating begins.

Start with a plain cookie.

Then add the icing border.

Go ahead and fill in the cookie.
Finally add the white dots.
I did all of the pink rabbits, before moving on to the green ones.

Green icing filled in.

With added white dots.


After finishing all of the rabbit cookies.  I moved onto the carrots.


I started by filling in all of the green stems.

Then I moved onto the orange of the carrot.

I really wanted to keep all the colors of these cookies very soft and muted.

Once I was done with all of the carrot cookies, I added tails and bows to the rabbits for a final touch.  Here is the final product!  Not quite dry yet!


Happy Easter and Spring to everyone!  May it be filled with nothing but good, delicious delights!

Thursday, February 6, 2014

Crossfit Gingerbread Men and Women!

So I wanted to do something a little different this holiday season.  Since I have been obsessed with Crossfit, I thought why not make Crossfit cookies.

I am a member of the Reebok Crossfit Lab and I wanted to make them some holiday cookies that they all could relate to.  Of course the first thing that came to mind were work out people, and since it was Christmas, why not make them gingerbread workout people.


 First things first was to make the ginger bread people! I like to try and under bake my gingerbread cookies just so they end up chewy.


I wanted to make sure I knew which designs I wanted to do ahead of time, so when I was ready to decorate there would be no hesitation.


You can obviously use any colors you want, but I wanted to stay in the holiday spirit.

Once I had the basic clothing iced on the cookies, I waited for them to dry completely before adding the logos.
I obviously got my inspiration from the gym and from the Reebok online store.
Lift Shirt (Click here to see shirt on Reebok's website)
Click here for 74 shirt on Reebok's website


As you can see I also made the Reebok Crossfit Lab some reindeer cookies as well!!


Enjoy!

Monday, December 9, 2013

Hanukah!

This year for Hanukah I was asked to make a variety of cookies.  They actually supplied me with the cookie cutters they wanted me to use.  Sadly I didn't take enough pictures to really make for a blog post, but here are the final products!


Happy Hanuksgiving!

Jack O Lantern!

Okay, so my Halloween post is WAAAAAAAAAAY over due, but I guess better late than never.  This year I saw these cookies posted on another cookie baker's site, and I knew I just had to make them.

For those of you who don't know I am a big fan of pumpkins and Jack Skellington, so what better than to combine the 2 into a cookie!

I started by drawing the face as well as the lines of the pumpkin with an edible ink pen.  This is just a regular pumpkin face, not the Jack Skellington one.


I iced every other space so that once it dries it will have defined lines in between each section.  This will make it look more pumpkin like.

Once the first set was pretty dry (about 20 to 30 minutes later), I iced the rest of the pumpkin.  Be careful not to poke you finger or lean into the other sections, as they are not 100% dry.

I let those pumpkins dry for about another 30 minutes, before filling in the black icing on the face.


For the mouth, first fill the opening with a lot of black icing, and then with a toothpick slowly pull the icing on each side to make the mouth stretch out longer.  After you have it just the way you like, proceed to add the other black lines.

I also made some plain pumpkins with the same technique, but without faces.


I had some left over dough, so I thought I would experiment.  I took half of a ghost cookie and a pumpkin cookie and put them together.  I also did the same thing with a cat cookie.  Here are the results.


Happy Baking!


Wednesday, September 11, 2013

M-I-C-K-E-Y

I am a little bit late in writing this post, but I guess better late than never!

I recently made Mickey and Minnie Mouse cookies for a friend's daughter's first birthday.  I wanted to do a simple cookie, since I knew I would have a small window in which I could make them. 

Of course you always start with baking the cookies.

Done!

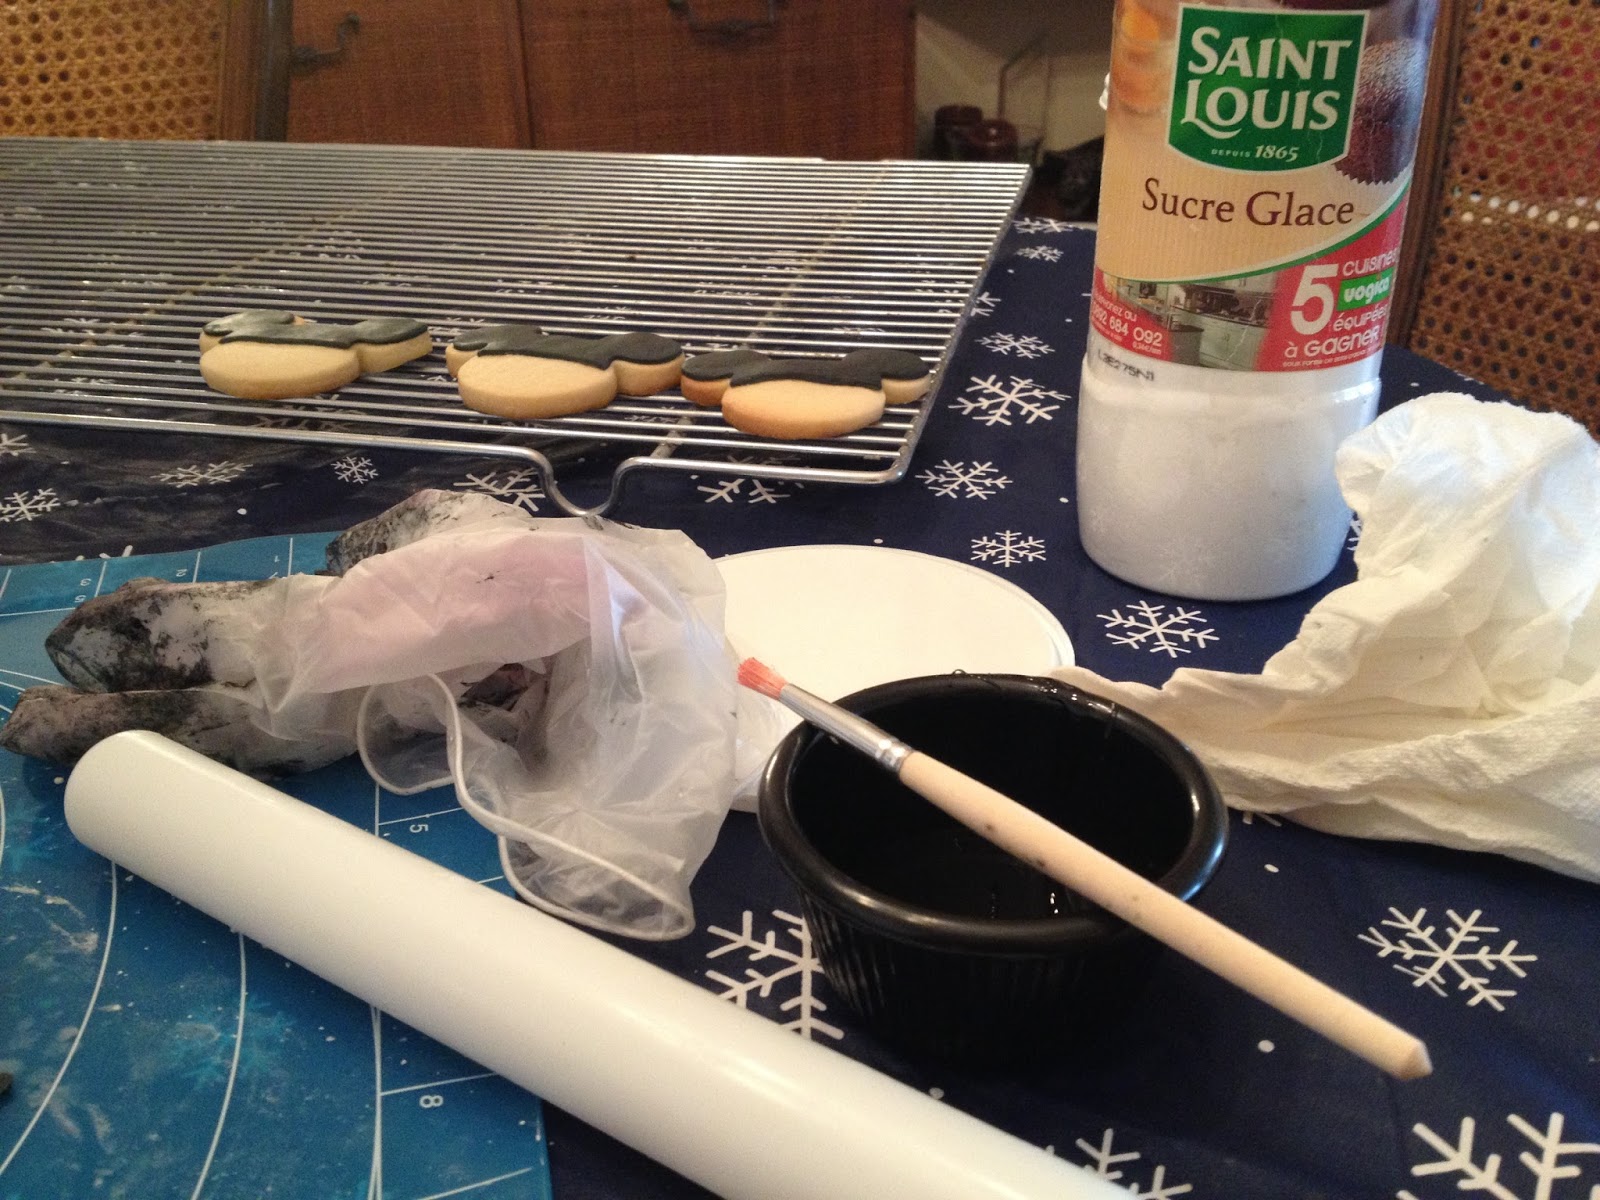
Then I decided I wanted to do half fondant and half royal icing.  I thought the ears would look best with black fondant.  Black is just not an easy color to work with no matter what.  The first step was to die the fondant black.  I took a chunk of fondant, added a few drops of black coloring, and needed it until the color was even.  You may also need to keep add more color until you have reached your desired shade.  This is also a very messy and sticky process.  I usually use gloves as well as powdered sugar to keep it from sticking to my fingers.

Once I reached my desired color, I rolled out my fondant with a little bit of powdered sugar.  As you can see I used a little too much powdered sugar, but you can always clean it off in the end.  (lightly wipe fondant with a damp paper towel)

 I took my Mickey cookie cutter and proceeded to cut out Mickey heads.  Since I was only using the ears, I sliced off the bottom half off the cut out.  Obviously you can use the whole cut out if you choose to.

Once I had cut out my fondant piece I brushed a small amount of corn syrup onto the cookie and place the cut out on top.  Make sure all the edges are down and smooth.  Don't press too hard.


Fondant, Black coloring and Corn Syrup

Brush with Corn Syrup and my glove as well as rolling pin.


Once I got all the ears done I moved onto the bottom half.  I did all the Mickey cookies first, followed by the Minnie cookies.


Cookie ready for Royal Icing!

Mickey red added to cookie.

Mickey Cookies done with red.


Mickey and Minnie cookies!
For the Minnie cookies, I had to add the white dots while the pink was wet, so it would flatten into the icing.  If you want the polka dots to be on top of the icing, than you need to wait until the pink is completely dry.  


 Once the Mickey cookies were completely dry I added the white dots to complete Mickey!


The last thing that was missing was Minnie's bows.  I printed out a sheet of Minnie bows, the size that would fit the cookie perfectly.  This took a few tries to get the size right.


I covered the sheet with a piece of wax paper, making sure to tape it down, so it wouldn't move around while I was trying to trace.  I then proceeded to trace all of the bows.


 I waited until the outline was pretty dry before filling them in.


Once they were completely dry (at least 24 hours) I cut them out and pulled them off the wax paper.  This needs to be done extremely carefully because royal icing transfers can break easily.  It is always smart to make some extra!


I added a bit of pink icing to the back of the royal icing transfer and placed it carefully onto Minnie's head.

Back of transfer.
The following pictures are the completed cookies!!


Once the cookies were completely dry, I put them in baggies, tied my usual ribbon on top, added my LuckyTreats sticker and voila!


Happy Baking!