I recently made Mickey and Minnie Mouse cookies for a friend's daughter's first birthday. I wanted to do a simple cookie, since I knew I would have a small window in which I could make them.
Of course you always start with baking the cookies.

Then I decided I wanted to do half fondant and half royal icing. I thought the ears would look best with black fondant. Black is just not an easy color to work with no matter what. The first step was to die the fondant black. I took a chunk of fondant, added a few drops of black coloring, and needed it until the color was even. You may also need to keep add more color until you have reached your desired shade. This is also a very messy and sticky process. I usually use gloves as well as powdered sugar to keep it from sticking to my fingers.
Once I reached my desired color, I rolled out my fondant with a little bit of powdered sugar. As you can see I used a little too much powdered sugar, but you can always clean it off in the end. (lightly wipe fondant with a damp paper towel)


Once I had cut out my fondant piece I brushed a small amount of corn syrup onto the cookie and place the cut out on top. Make sure all the edges are down and smooth. Don't press too hard.
 |
| Fondant, Black coloring and Corn Syrup |
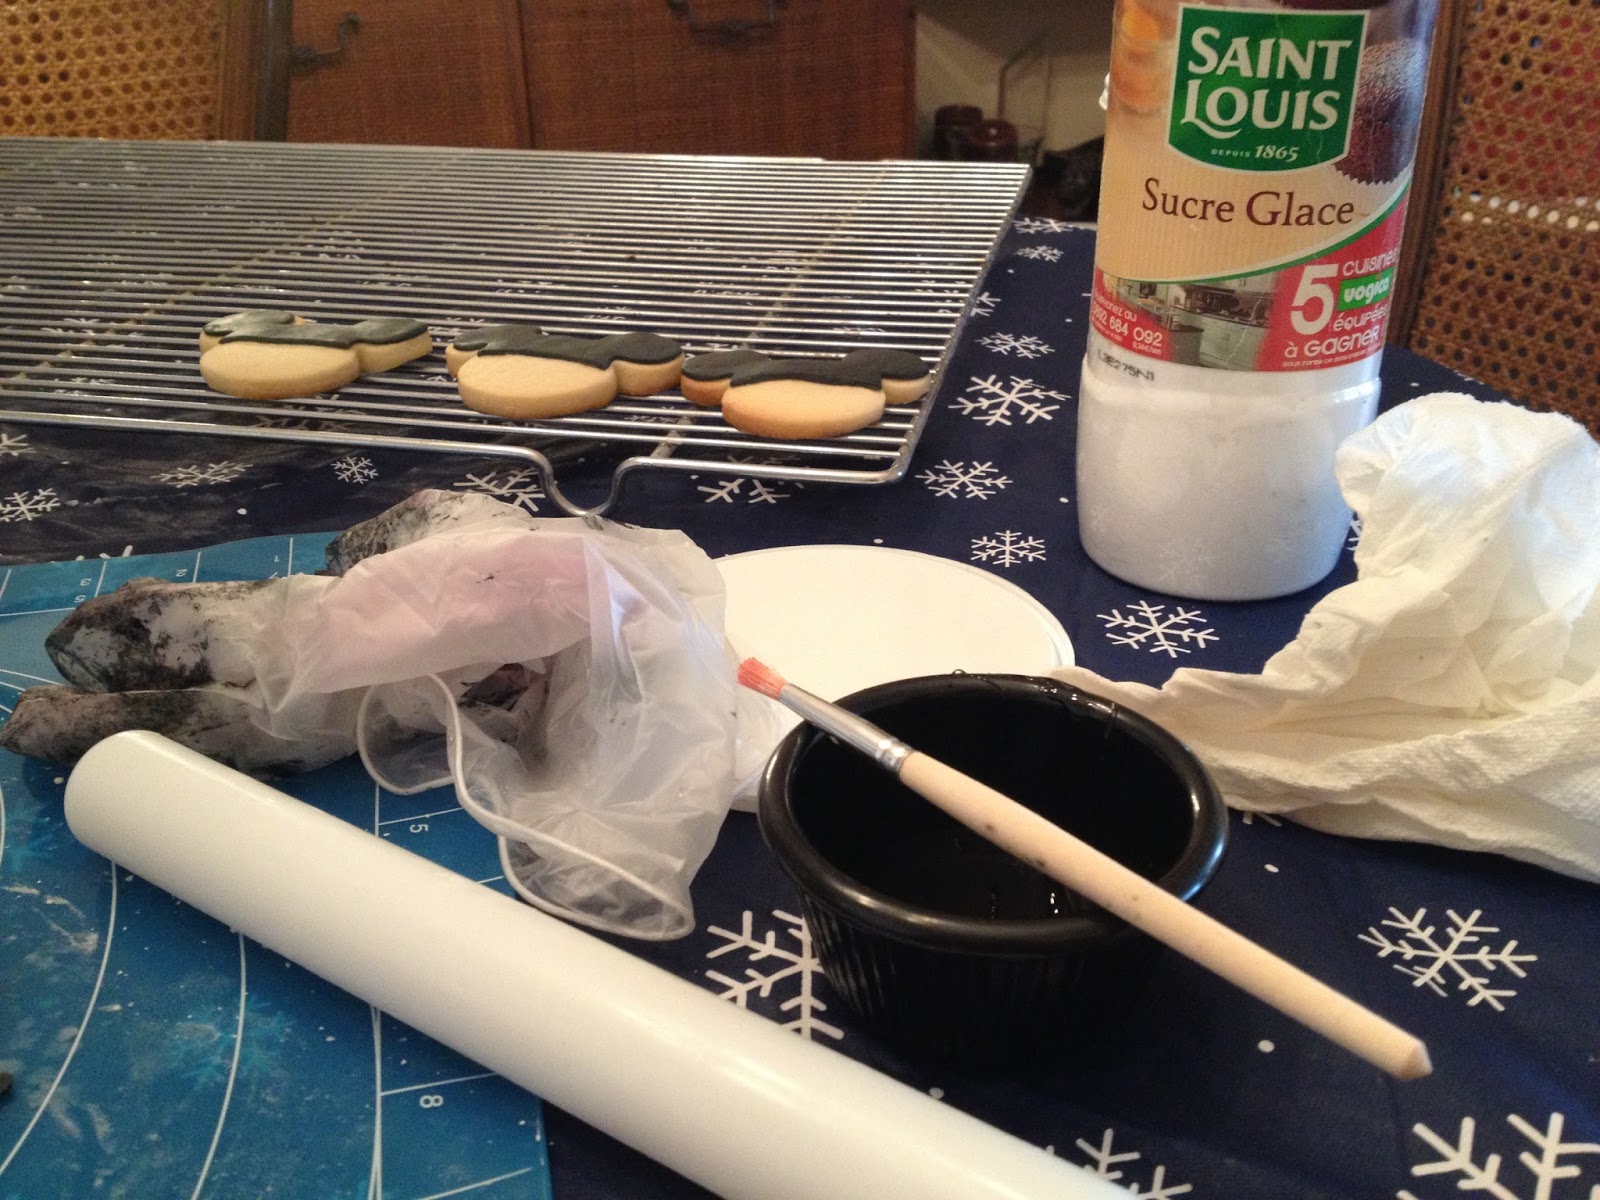 |
| Brush with Corn Syrup and my glove as well as rolling pin. |


Once I got all the ears done I moved onto the bottom half. I did all the Mickey cookies first, followed by the Minnie cookies.
 |
| Cookie ready for Royal Icing! |
 |
| Mickey red added to cookie. |
 |
| Mickey Cookies done with red. |


 |
| Mickey and Minnie cookies! |


Once the Mickey cookies were completely dry I added the white dots to complete Mickey!


The last thing that was missing was Minnie's bows. I printed out a sheet of Minnie bows, the size that would fit the cookie perfectly. This took a few tries to get the size right.

I covered the sheet with a piece of wax paper, making sure to tape it down, so it wouldn't move around while I was trying to trace. I then proceeded to trace all of the bows.

I waited until the outline was pretty dry before filling them in.


Once they were completely dry (at least 24 hours) I cut them out and pulled them off the wax paper. This needs to be done extremely carefully because royal icing transfers can break easily. It is always smart to make some extra!

I added a bit of pink icing to the back of the royal icing transfer and placed it carefully onto Minnie's head.
 |
| Back of transfer. |


Once the cookies were completely dry, I put them in baggies, tied my usual ribbon on top, added my LuckyTreats sticker and voila!


Happy Baking!